суббота, 24 сентября 2011 г.

идеи для DIY


Это моя первая публикация, для меня очень волнительно. Такое ощущение как будто я пишу статью для журнала, я понимаю что это не одно и тоже, но эмоций зашкаливают.

Я предлагаю к вашему вниманию очень простые идей для хэндмэйда предлагаемые нам журналом teenvogue. Они действительно простые так как сразу увидев их восклицаешь  «как же я сама не додумалась раньше?!».

Let`s get start!

Первую идею покажут нам Кэти Холмс и стилист Жанна Янг, модель Дэни
Нам понадобятся:
рубашка
иглы и нитки
ножницы
черная и розовая атласные ленты
шелковая ткань
цепь и бусы
плоскогубцы


В любимые картинки
В комментарий


В любимые картинки
В комментарий


В любимые картинки
В комментарий


В любимые картинки
В комментарий


В любимые картинки
В комментарий


В любимые картинки
В комментарий


2.  Актриса Аннабел  Декстер-Джонс,Тимо Вейланд (слева) и Алан Экштейн
Нам понадобятся:
галстук бабочка
разные цепочки
плоскогубцы


В любимые картинки
В комментарий


В любимые картинки
В комментарий


В любимые картинки
В комментарий


В любимые картинки
В комментарий


В любимые картинки
В комментарий


3.Софи Buhai (слева) и Лиза Mayock (справа) с моделью Нина
Нам понадобятся:
три метра  ткани
ножницы, иглы
белая футболка


В любимые картинки
В комментарий


В любимые картинки
В комментарий


В любимые картинки
В комментарий


В любимые картинки
В комментарий


В любимые картинки
В комментарий


В любимые картинки
В комментарий


4. Дизайнер Cho с моделью Michela
Нам понадобятся:
2 меховых воротника
булавки
нитки и иглы
ножницы


В любимые картинки
В комментарий


В любимые картинки
В комментарий


В любимые картинки
В комментарий


В любимые картинки
В комментарий


В любимые картинки
В комментарий


5. Юбка карандаш из толстовки
Что вам понадобится:
толстовка
2 резинки(красный и белый)
булавка
иглы, ножницы и утюг


В любимые картинки
В комментарий


В любимые картинки
В комментарий


В любимые картинки
В комментарий


В любимые картинки
В комментарий


В любимые картинки
В комментарий


В любимые картинки
В комментарий


 6. Джорджина Чепмен и Керен Крэйг
Что вам потребуется:
черное платье трубка
черная футболка
бусы и цепи
иглы, ножницы, нитки
линейка


В любимые картинки
В комментарий


В любимые картинки
В комментарий


В любимые картинки
В комментарий


В любимые картинки
В комментарий


В любимые картинки
В комментарий


7. Дизайнер Филипп Лим
Что вам потребуется:
рубашка белая
ткань
ножницы, нитки, иголка
картон
серебряные пуговицы


В любимые картинки
В комментарий


В любимые картинки
В комментарий


В любимые картинки
В комментарий


В любимые картинки
В комментарий


В любимые картинки
В комментарий


8. Дуэт brit
Что вам потребуется:
два фартука
иглы и нитки
для отделки белый шелк


В любимые картинки
В комментарий


В любимые картинки
В комментарий


В любимые картинки
В комментарий


В любимые картинки
В комментарий

Это всё! Спасибо за внимание и надеюсь идеи вам понадобятся!

среда, 21 сентября 2011 г.

Glitter ‘N Glue Product Review: Krylon Glitter Blast


Glitter ‘N Glue Product Review: Krylon Glitter Blast

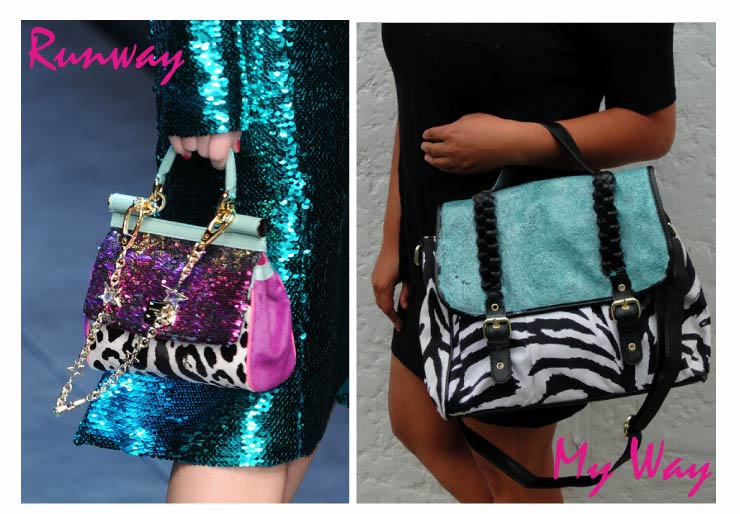
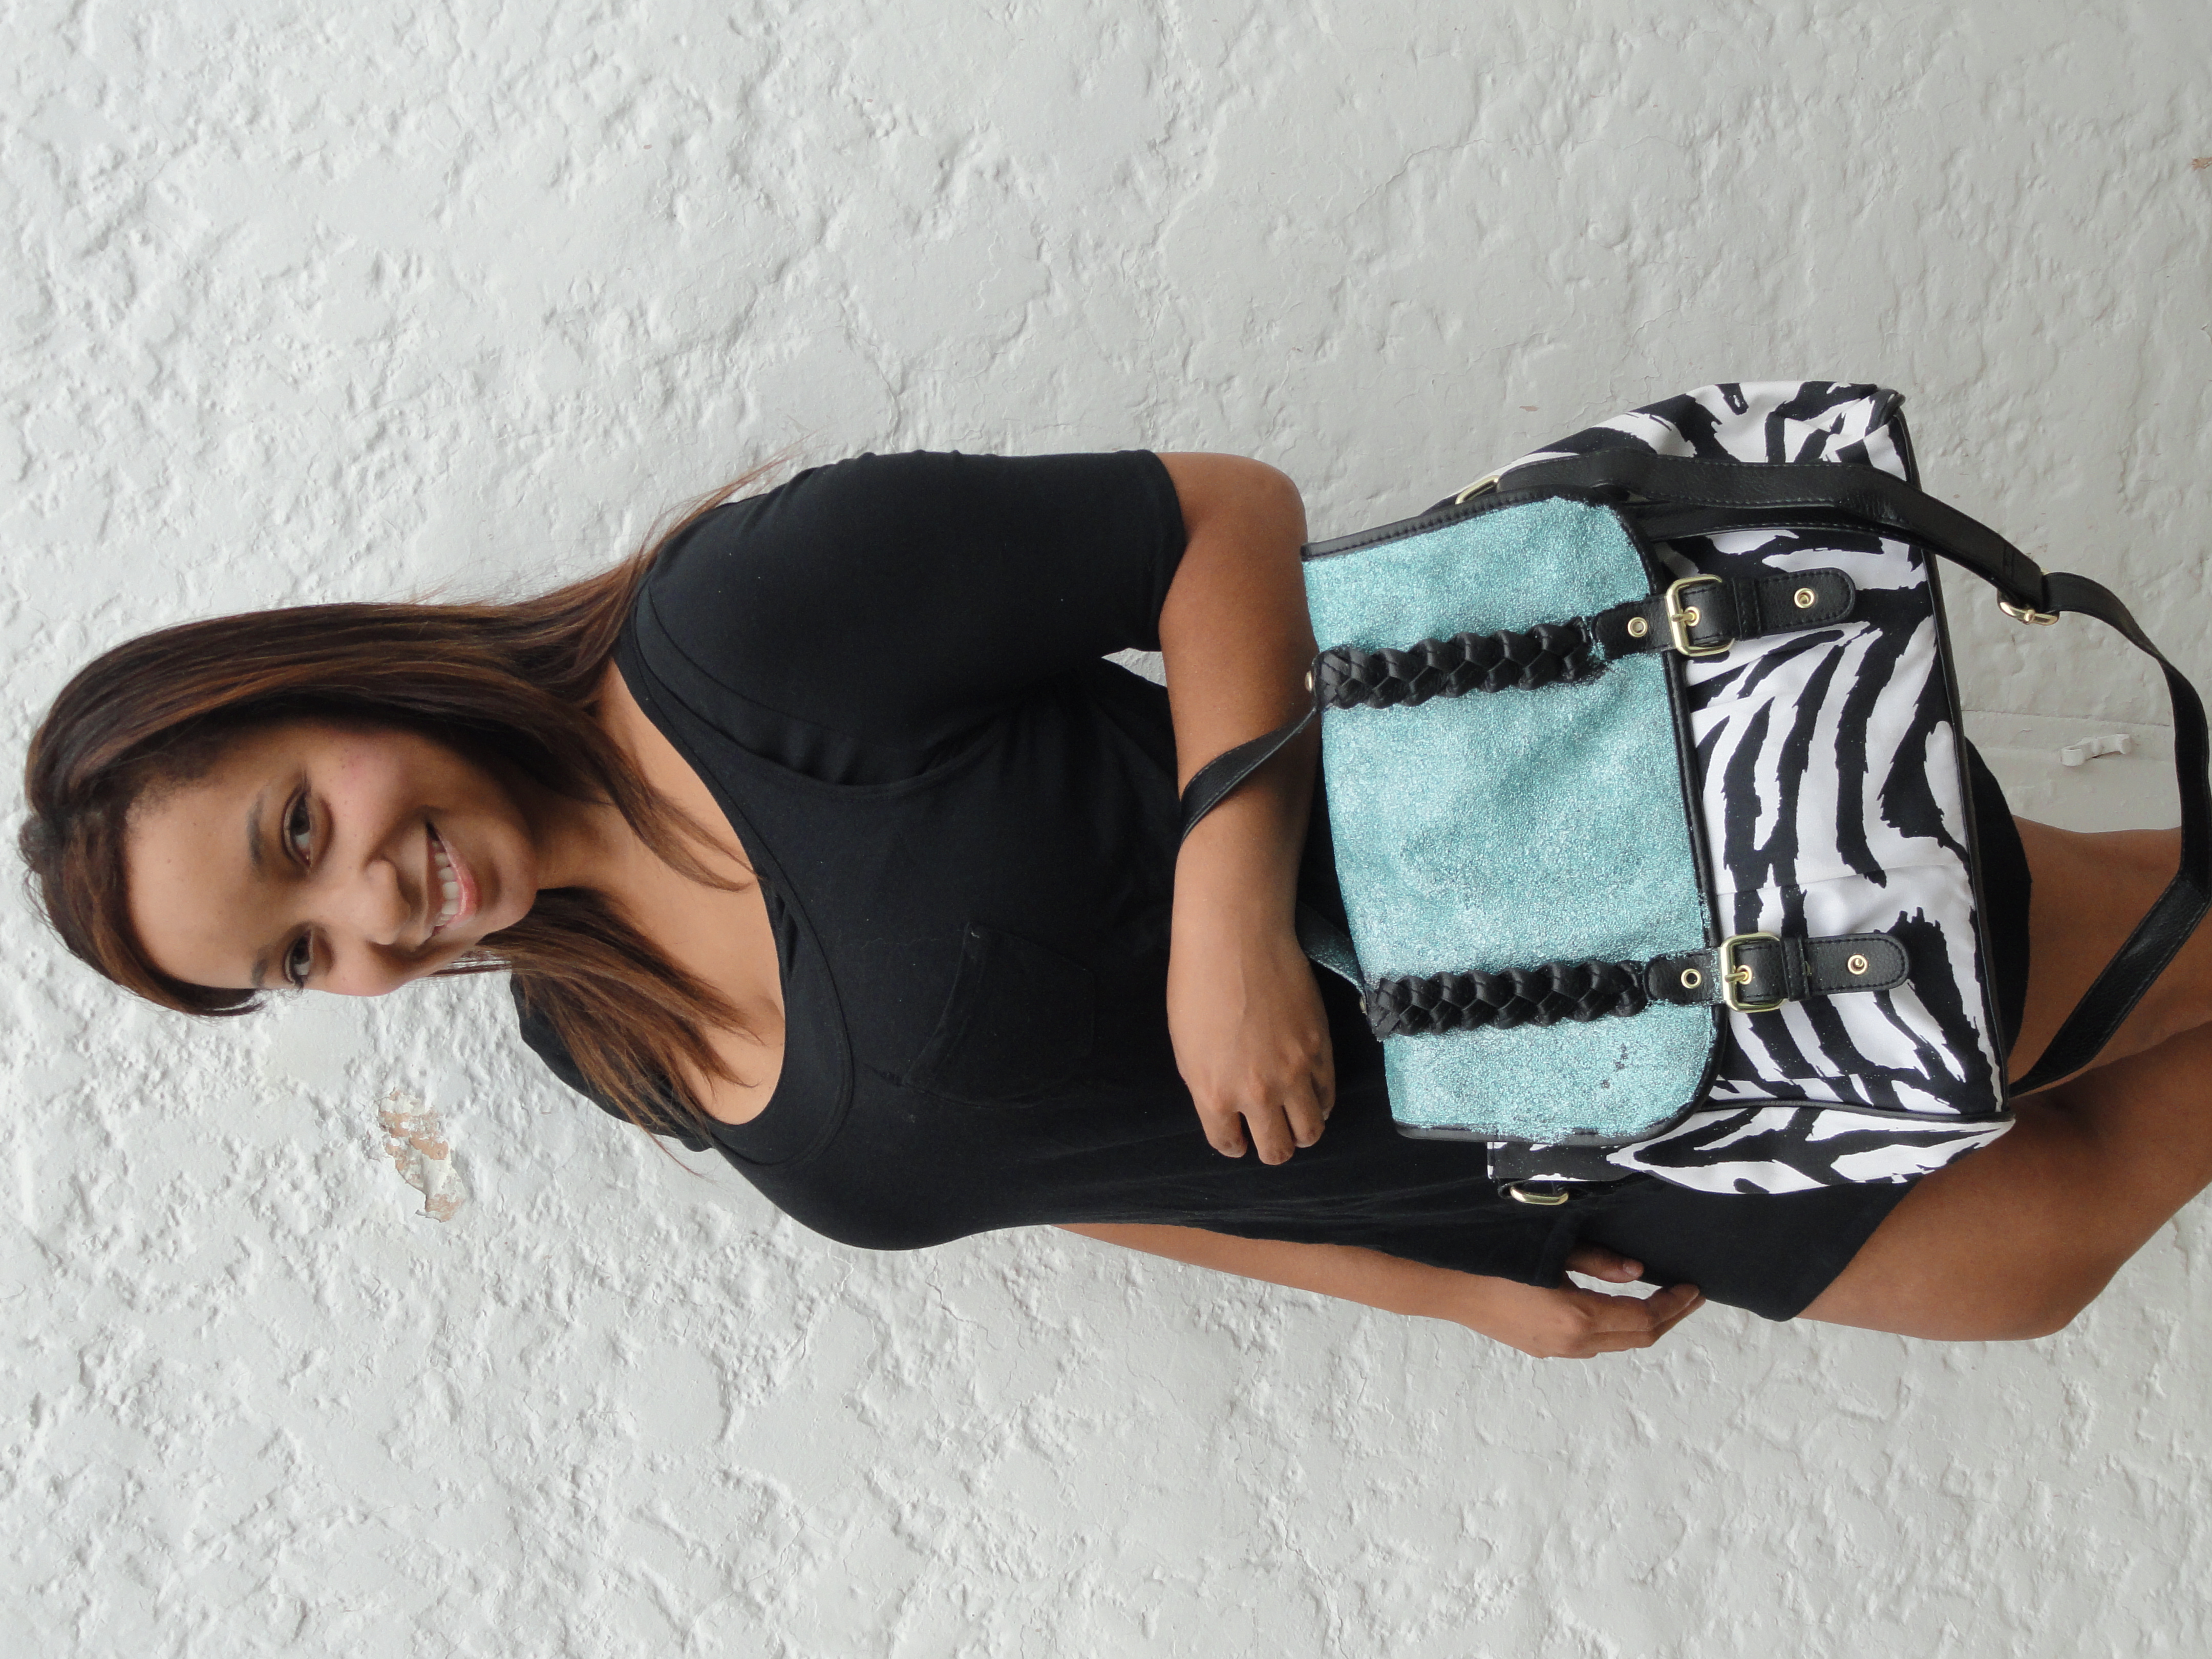
Left: Dolce and Gabbana Right: Glitter ‘N Glue
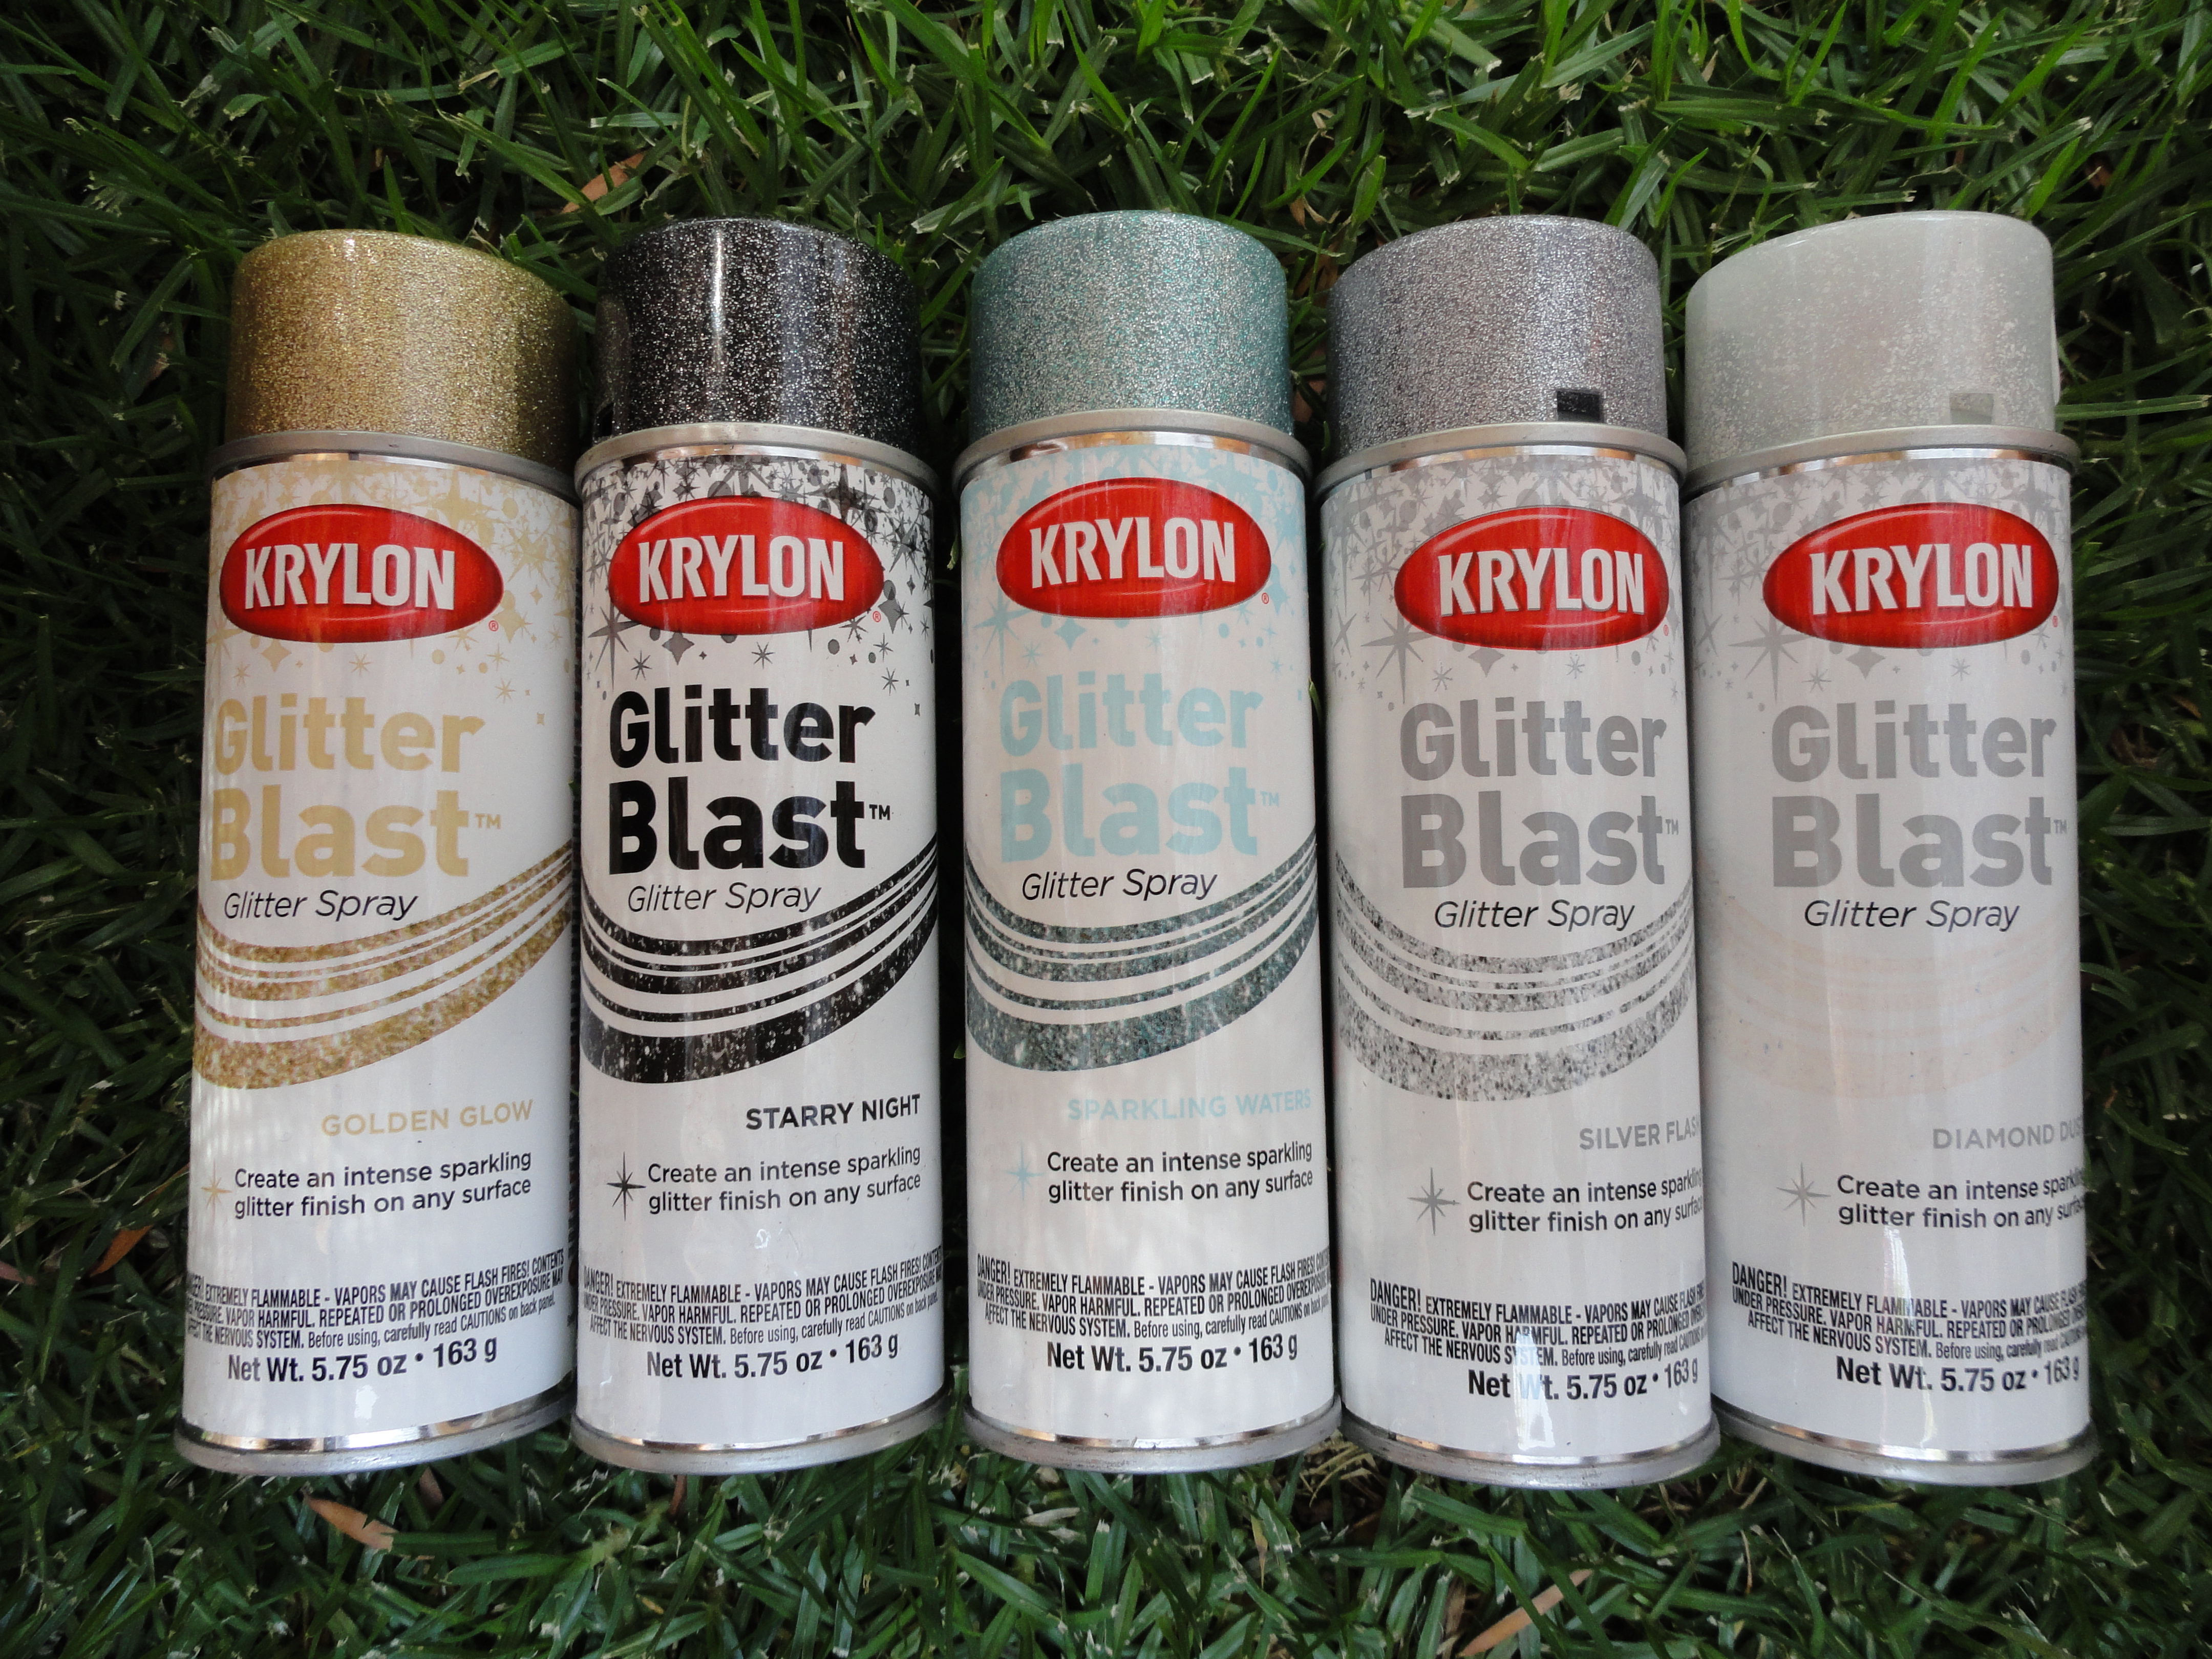
I love when the UPS drops off packages at my door. I especially love when the package is full of GLITTER!!!!! Come on you guys know I’m obsessed, so imagine my excited me when I got a package of the new Glitter Blast by Krylon.
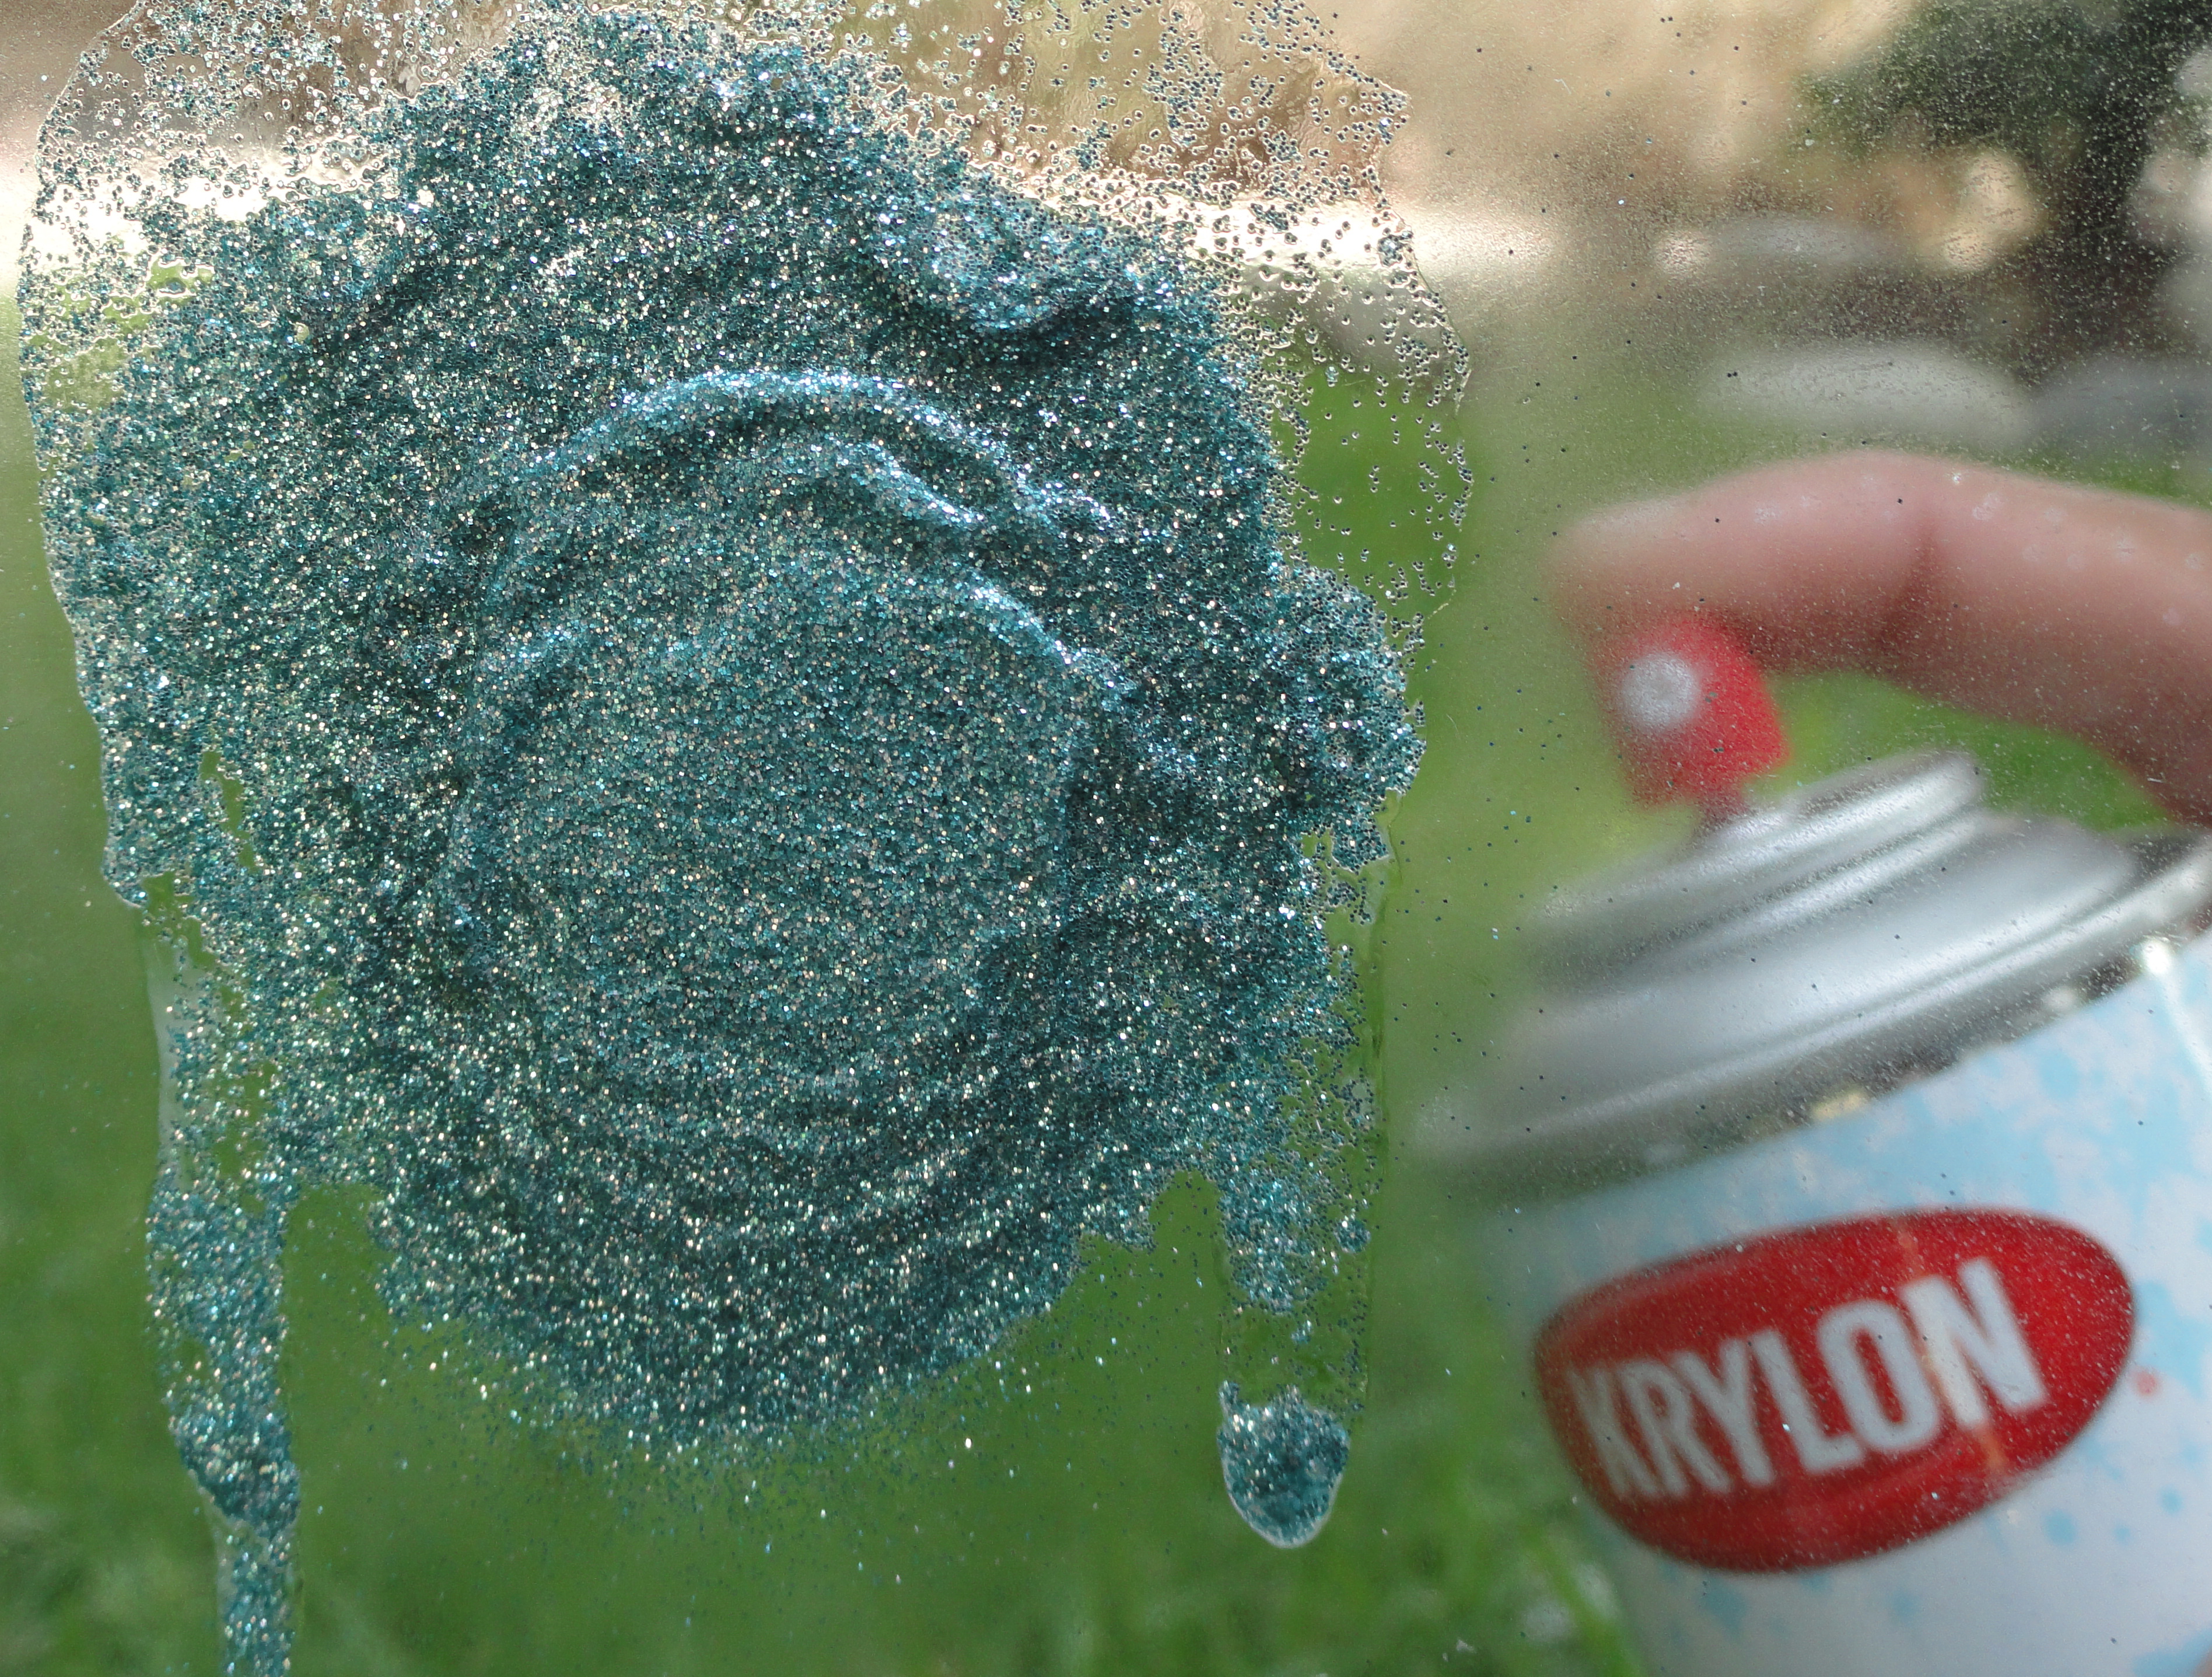
I was so excited to try out this product. Usually when I’m applying glitter I have to mix up a of concoction of glitter n glue (lol get it? Glitter ‘N Glue) and then apply with a brush. Thanks to Krylon, they’ve now made my glitter application process a little easier! #Excited
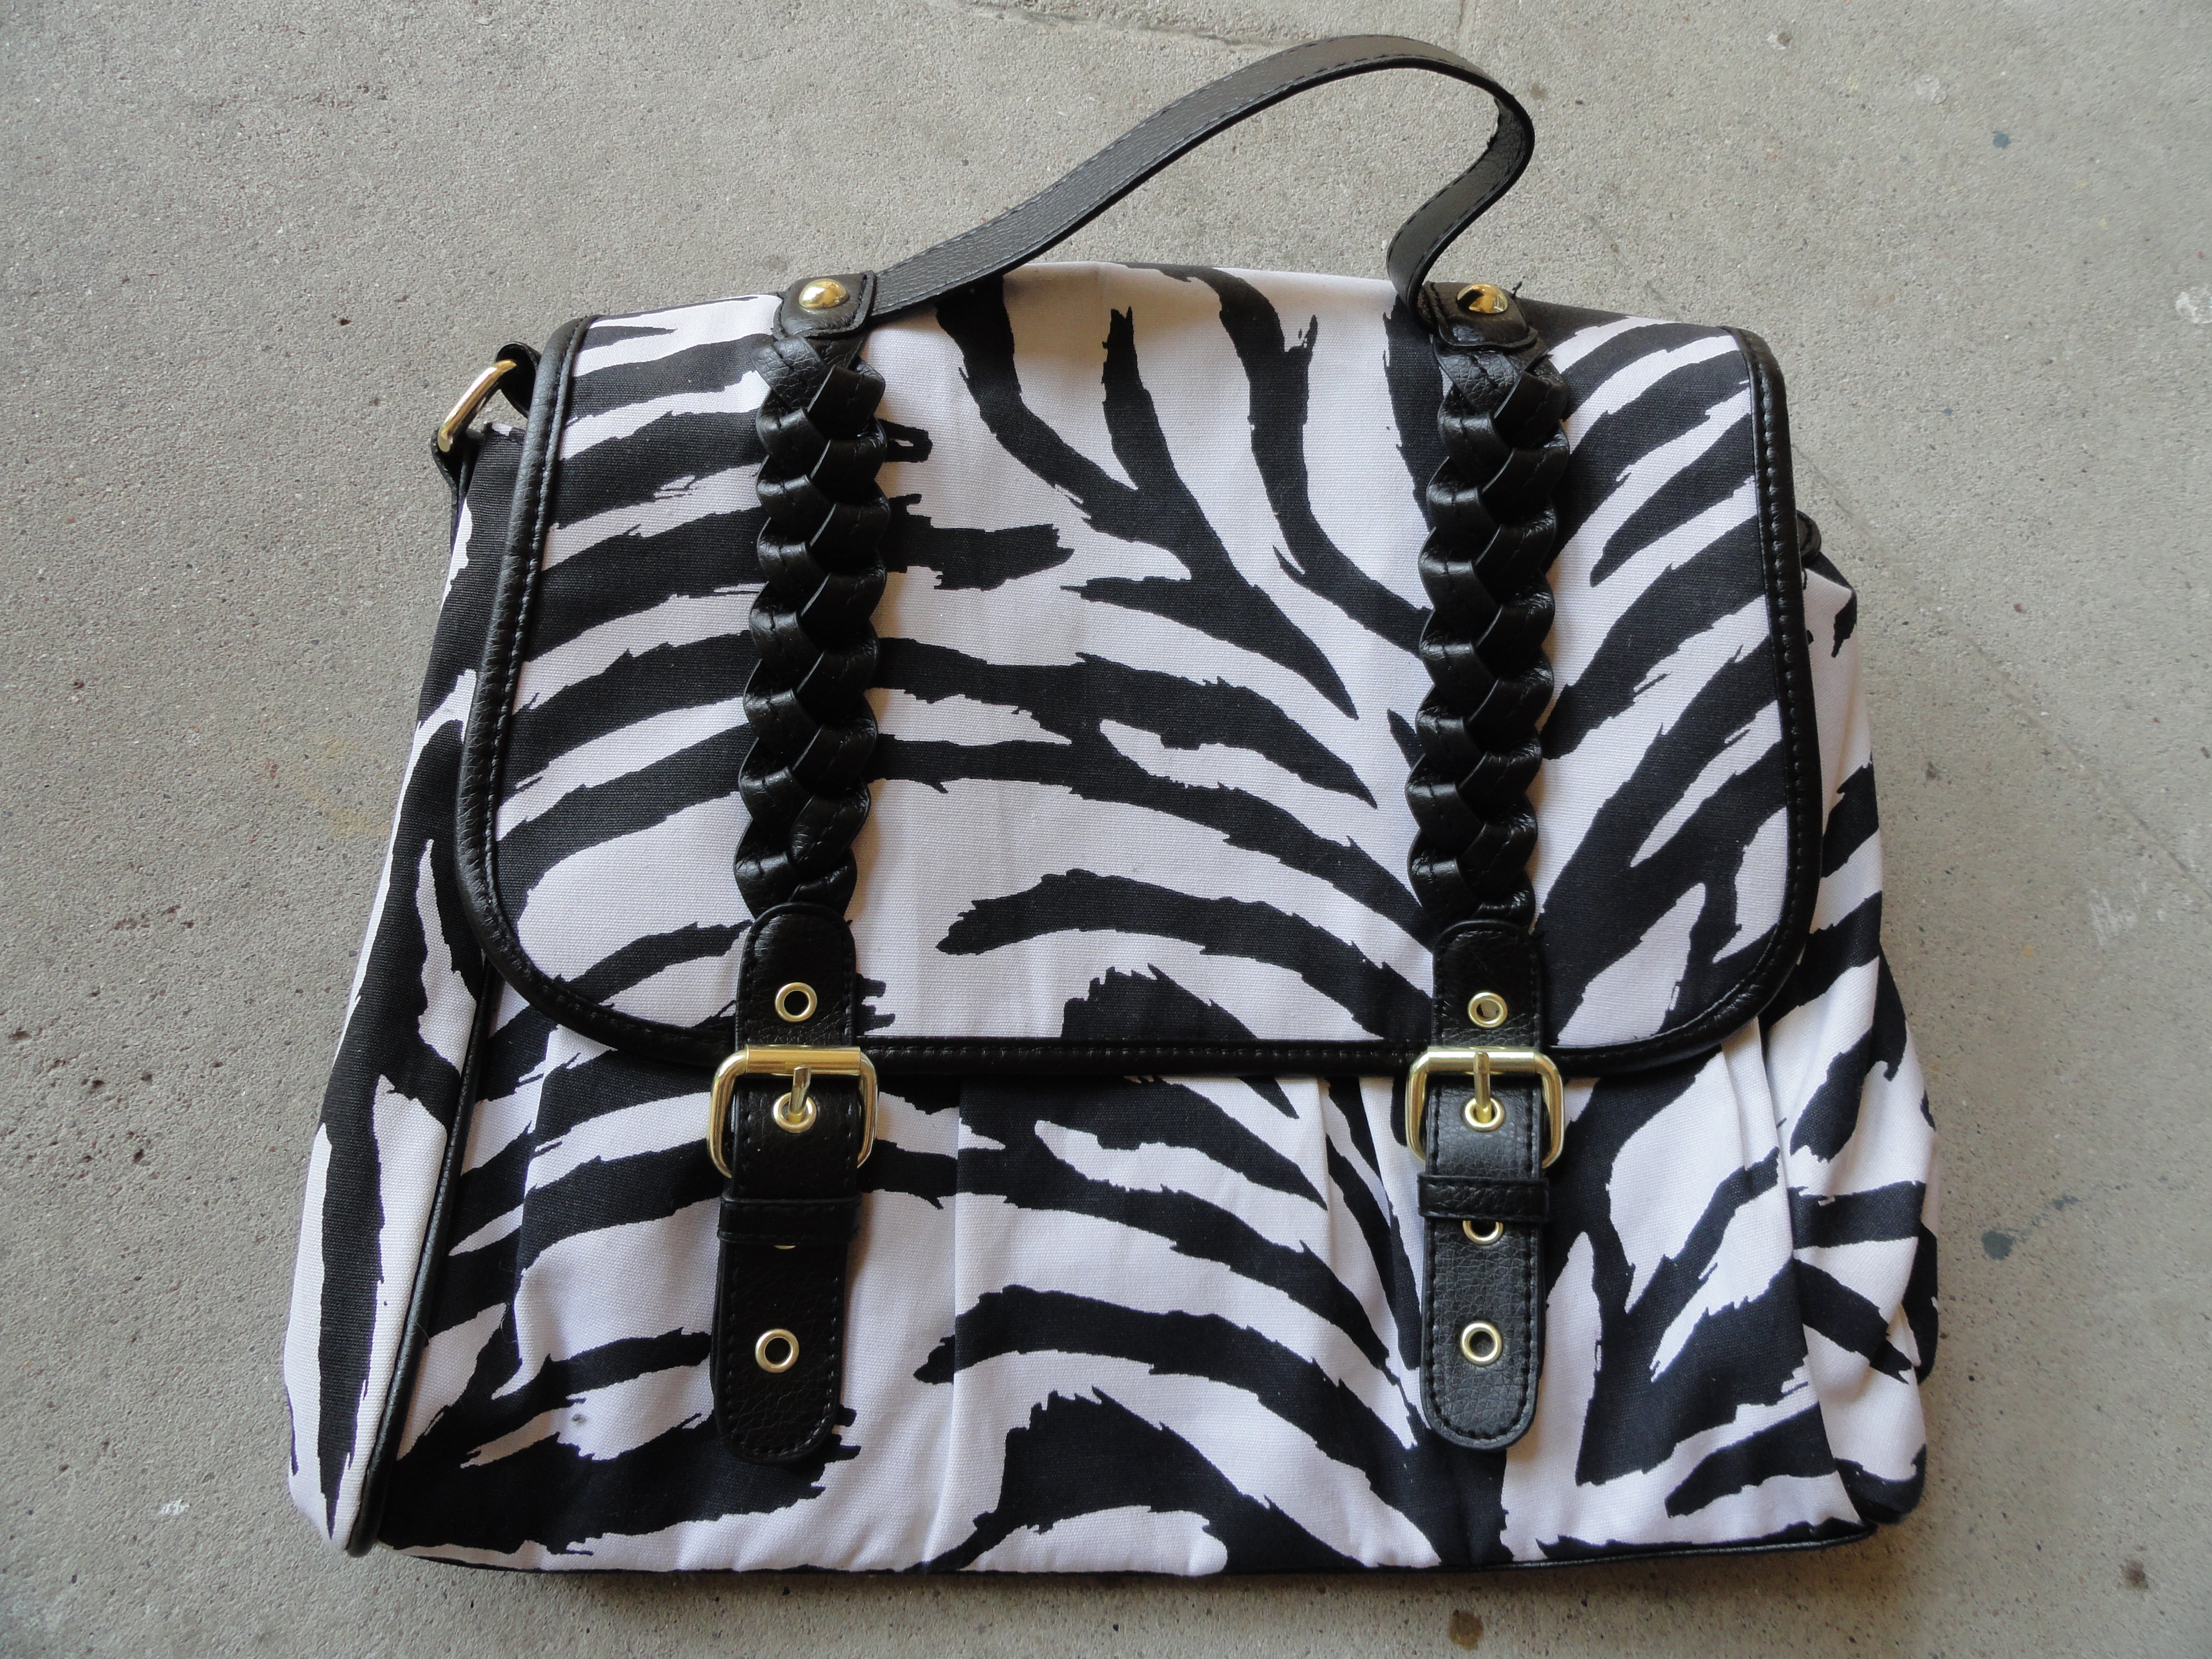
Before: Zebra print bag from H&M on sale for $6
This purse was also very excited that the UPS guy made the delivery when he did. This bag was sitting on top of my thrift store pile. It’s time in my closet was about to come to an end. Consider the Krylon deliver its stay of execution. It got a second chance at a fashionable life.
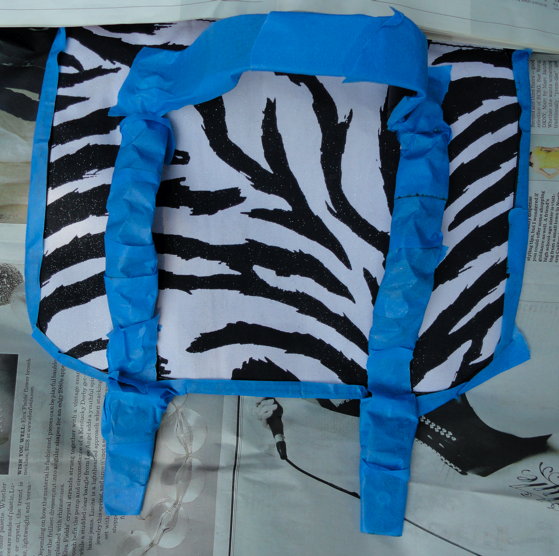
I went crazy with the painters tape. I put tape on the leather handles since I wanted them to remain black.
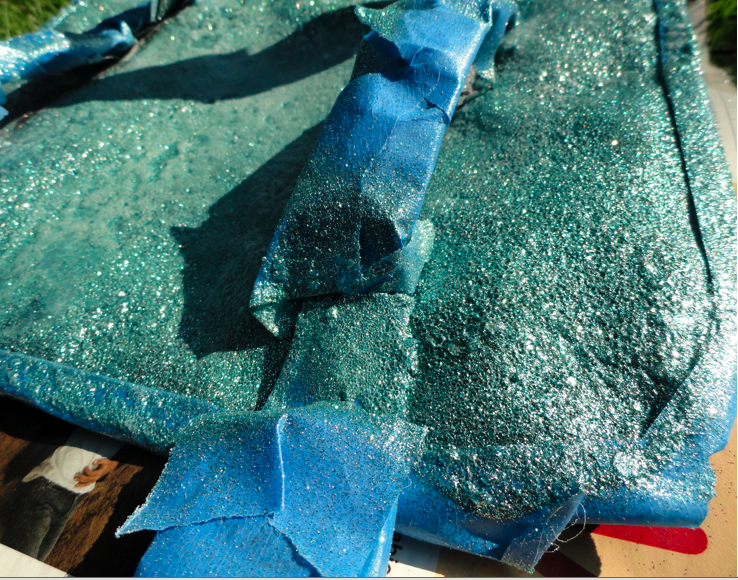
Look at the way it shines when the sun hits it just right!
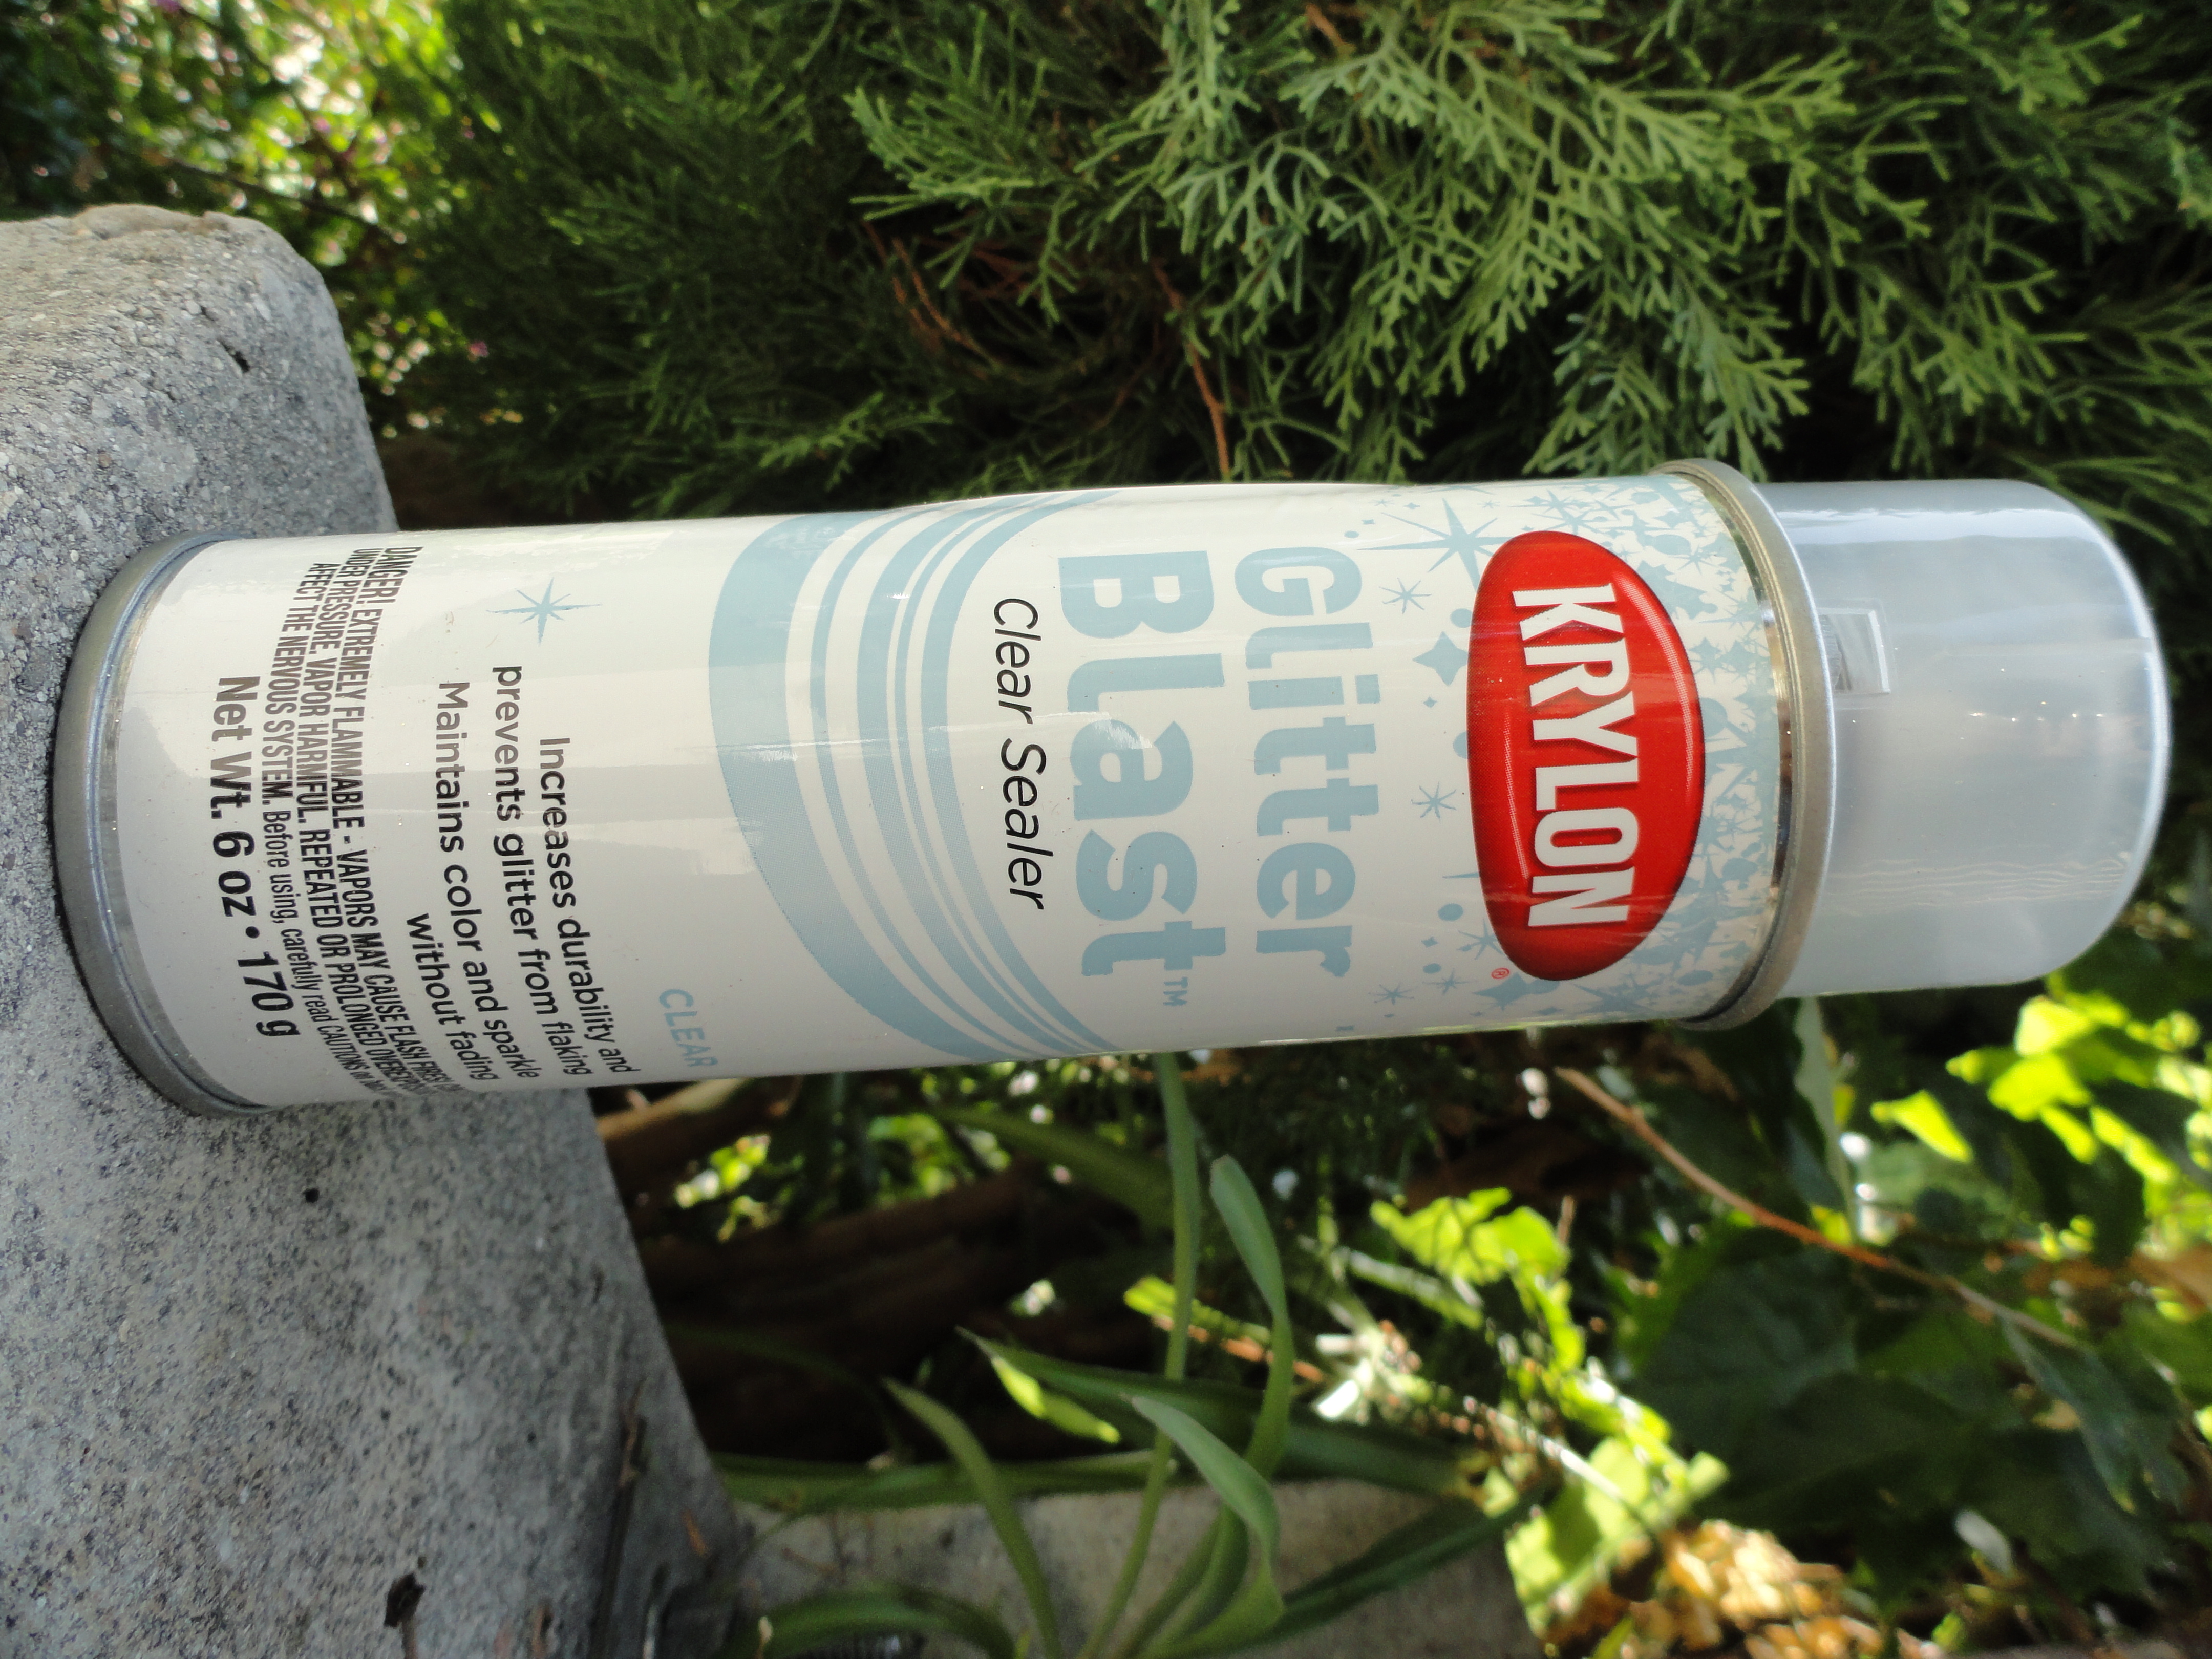
DIY NOTE: The sealing process is the most important step in the Glitter Blast process. You must purchase the Krylon can of clear sealer. It protects the glitter and prevents it from getting all over the place. It’s a must!
Krylon’s Glitter Blast has a new fan! It’s my new fave product and I recommend you try to get your hands on a can. Click here to see a list of retailers in your area. My only recommendation is to make sure you use the Glitter Blast outside and in a ventilated area. I was walking around with glitter on me for a few days…not that I consider that a real problem.
Thanks to Krylon for sending me a few cans.

воскресенье, 18 сентября 2011 г.

MyMemories Review + Promo Code + Giveaway!


Recently, MyMemories - a digital scrapbooking software company - contacted me about trying out and reviewing MyMemories Suite Version 2.0. At first I thought, scrapbooking? But I'm a fashion DIY blog...but a few seconds later, it suddenly dawned on me that scrapbooking and fashion can totally go hand in hand. So, I decided to give the scrapbooking software a shot. Here's what I thought of it, and what I made with it. There's also a giveaway AND a promo code for my readers, so keep reading!


THURSDAY, SEPTEMBER 8, 2011

glamour kills diy: Cut Out Shoulder T-Shirt


I think any DIY'er knows that t-shirt reconstructions are the most basic clothing DIY's in the history of clothing DIY's (or something like it). I personally love taking Men's shirts and adding a feminine twist to them, so when Glamour Kills (one of my favorites!) asked me to DIY some of their shirts, I was all for it. Back in May, they also invited me to their Manhattan office in Soho to DIY some of their shirts (I actually wore this shirt that day).


Funny story: I actually knew about GK back in high school - Mark, the founder of Glamour Kills, started selling shirts at local shows back in 2005. My hometown isn't that far from his hometown, so I remember seeing Glamour Kills shirts around school and at shows. Who knew that 6 years later I'd be visiting the GK office to DIY some shirts? It's crazy how things work out.


Supplies:

- T-shirt
- Matching thread
- Sharp scissors
- Sewing needle
- Pencil (not shown)


I used this "Metal" tee by Glamour Kills, in a Men's Medium.  At first, it's not exactly the most girly shirt, which is exactly why I chose it.


1) Draw a half circle on the shoulder; start off small - you can always cut off more later. 


2) Cut out, and try on. If you like it, then keep it! If not, adjust and cut some more.


3) Fold the shirt in half, so you can trace the cut out shoulder onto the other sleeve.


4) Gather the sleeve at the bottom of the cut out shoulder, and secure by sewing several stitches.


5) Every few stitches, I wrapped the gathered fabric in the thread; in other words, instead of inserting the needle back through the fabric, I inserted it through the cut out shoulder, and wrapped the thread around to accentuate the fabric. This created a bow like look, as you can see above. Then I continued sewing a few more stitches for extra security.

Repeat Steps 4 and 5 on the other sleeve, and you're done!


 Easy :)

If you follow me on Twitter, I just posted a picture of 2 shirts that Glamour Kills recently sent me from their latest line. I already know what I want to do with them, so keep an eye out for those!

DIY Colorblock Bag A.K.A. How to Paint Leather with Acrylic Paint


DIY Colorblock Bag A.K.A. How to Paint Leather with Acrylic Paint

DIY Colorblock Bag A.K.A. How to Paint Leather with Acrylic Paint70′s-style colorblocking is a hot trend for Fall 2011, seen on the runways and now beginning to trickle down into street style and retailers.  I was hankering after a colorblocked purse, but didn’t want to pay a lot for it.  Thankfully, thrift stores are a wonderful source of older handbags, and I found an adorable cross-body bag for a mere $4.99.  But it was rather beat-up and needed a little makeover, so I figured it was time to break out the brushes and do some leather painting!  Though technically when you paint leather, what is most recommended is to use paint that is specifically formulated for use on leather, like Angelus.
However, if you are feeling squeamish about buying an unfamiliar product online, or they don’t ship to your country, or you want to use some acrylic craft paint that you already have on hand, fear not!  Leather and suede can actually be painted with acrylic paint, with fairly good results if you take the time to prep the piece properly.  So here’s how to add some vibrant color-blocking to some leather or suede pieces you already own:

How to Add Some DIY Colorblocking to a Leather Bag

You Need:DIY Colorblock Bag A.K.A. How to Paint Leather with Acrylic Paint
*leather or suede handbag
*acrylic craft paint

And…
*water
*small bowl for paint
*paintbrush
*masking or painter’s tape
*soft cloth
*rubbing alcohol
*fine grit (like 800) sandpaper

How To:DIY Colorblock Bag A.K.A. How to Paint Leather with Acrylic Paint
1.. Use fine-grit sandpaper to remove any shiny parts to the leather you will paint.  We need to rough up the surface so the paint will adhere.  (Not necessary on suede items.)DIY Colorblock Bag A.K.A. How to Paint Leather with Acrylic Paint
2. Wipe with a clean, damp cloth to remove residue.DIY Colorblock Bag A.K.A. How to Paint Leather with Acrylic Paint
3. Wipe the area with a cloth saturated with rubbing alcohol to remove any surface finishes or protective coatings the leather might have.
DIY Colorblock Bag A.K.A. How to Paint Leather with Acrylic Paint
4. Mask off the parts of the bag you will be painting with tape.DIY Colorblock Bag A.K.A. How to Paint Leather with Acrylic Paint
5. Now the bag should be ready to receive paint.  Mix the paint with water in a 1:1 ratio in your bowl, and paint on the mixture using long strokes. DIY Colorblock Bag A.K.A. How to Paint Leather with Acrylic PaintIt will look streaky at first, but this is necessary to allow the leather to soak up the paint.DIY Colorblock Bag A.K.A. How to Paint Leather with Acrylic Paint
6. Add 2-3 more coats, allowing the paint to dry partially between coats. DIY Colorblock Bag A.K.A. How to Paint Leather with Acrylic PaintDo not allow the paint to dry fully; the leather needs to remain damp between coats.  After each coat, flex the leather so the paint won’t crack.
DIY Colorblock Bag A.K.A. How to Paint Leather with Acrylic Paint
7. Now it’s time to use undiluted paint.  Spread on using long coats again, flexing after each coat.  Allow to dry between coats – you may need a couple.  It took 3 for my seafoam color to become truly opaque on my dark brown bag.
8. Remove masking tape once completely dry.

You’re done!  No protective coating is necessary, though if you’re worried about water-fastness, a layer of matte Mod Podge might be a good choice.
Wear with neutrals or mix it up with crazy colors for a Fall look!DIY Colorblock Bag A.K.A. How to Paint Leather with Acrylic Paint
**Whether acrylic paint will work on vinyl or manmade leather surfaces is fairly dependent on the surface; it’s mostly trial and error for faux.

Some other on-trend color combos to try:

Evergreen + Royal Purple + Orange                  Mustard + Gray                    Gold + Burgundy                    
Black + Cognac                       Seafoam + Cream               Teal + Silver
DIY Colorblock Bag A.K.A. How to Paint Leather with Acrylic PaintHappy DIY’ing!
xoxox