Refashioned Jewels: Coloring Gems DIY
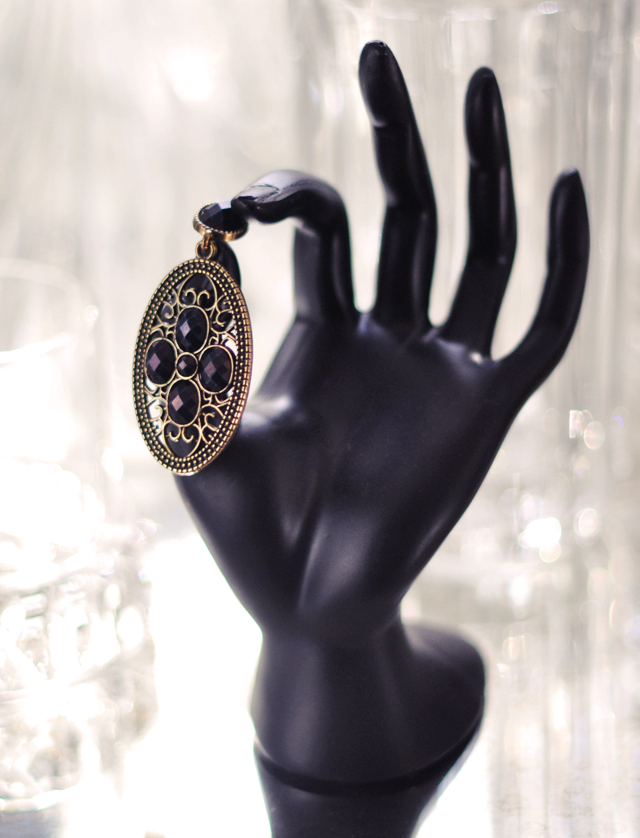
It's not that I don't love these Amrita Singh Napeague Earrings which I found on GILT a few months ago {and wore here} but I realized recently that I have quite a few pairs of turquoise earrings, so I thought I'd DIY them into something new. Though I just noticed, when looking for the link on the Amrita Singh site, that these earrings are also available with black stones. But this DIY is for earrings, necklaces, bracelets or any piece of jewelry with gemstones: grab your black Sharpies and give them a makeover!


* Sharpie
* Q-tips
* Earrings or necklace with faceted colored gemstones


* Carefully mark your gems evenly with a new Sharpie making sure to avoid the metal base.
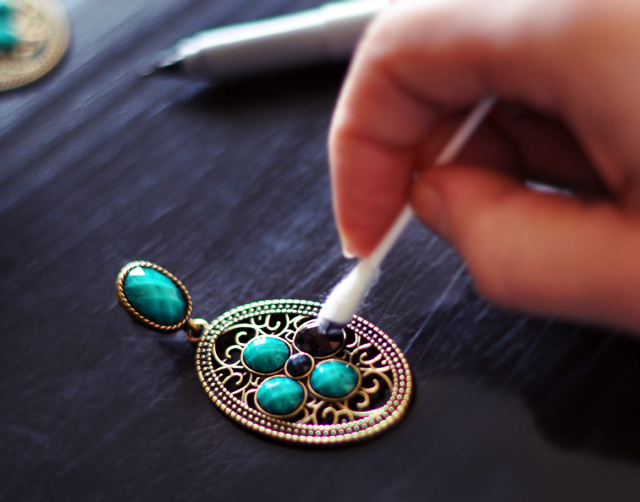
* Immediately after marking, take your q-tip and simply buff the stone so some of the marker wears away allowing your stone to shine through {if your stones are not faceted, this won't work}.

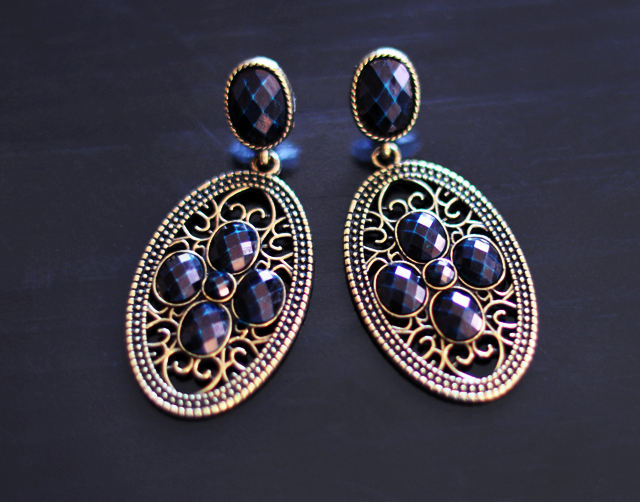
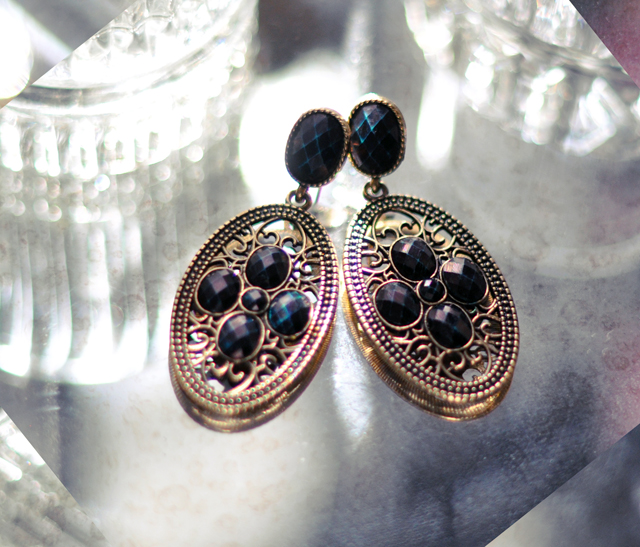
* You may also choose not to buff your stone, which will give you a solid black effect. You may also choose to use a different color... any darker tones will work. My goal was to achieve a vintage look, and I love the way they turned out.

Have Fun!
Pearl & Leather Necklace DIY
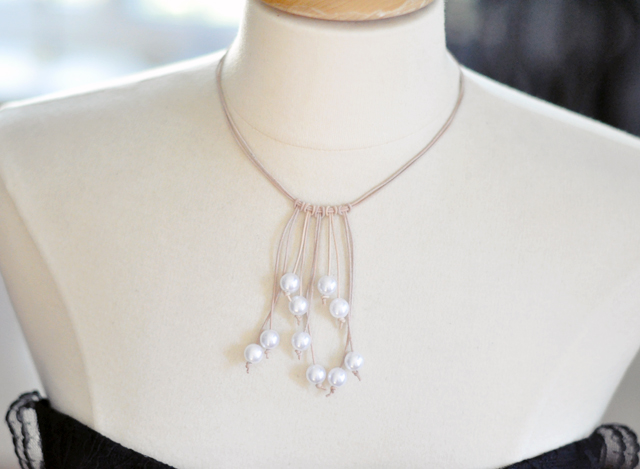
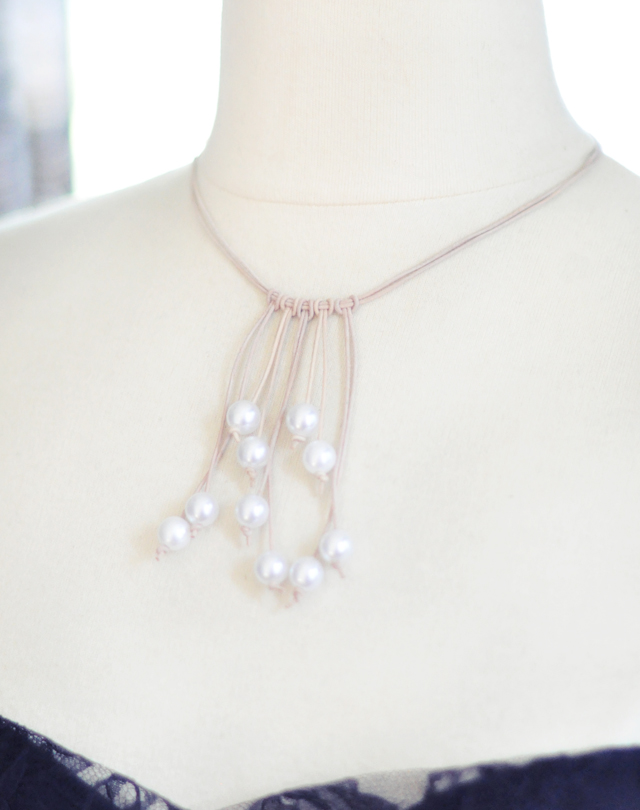
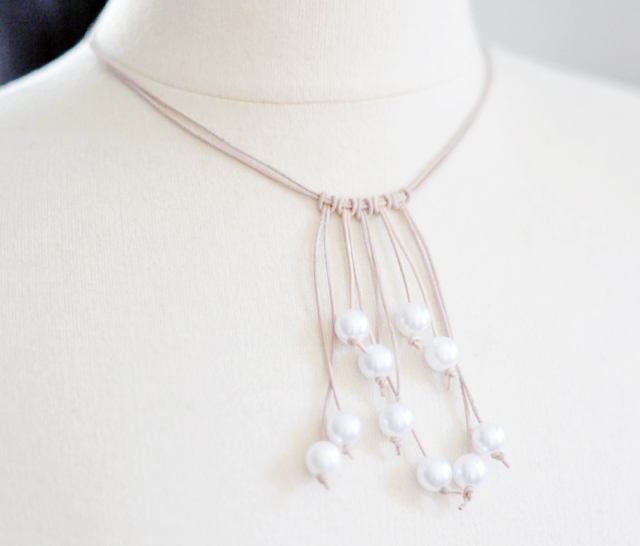
Flipping through the October 2011 InStyle Magazine, I came across Lauren Hutton's picks and found this delicate pearl necklace from Calypso Sea and loved the contrast of the raw leather with the pretty pearls. I went to my local bead shop to find some really great pearls but they were closed so I used the budget version from JoAnn's and it turned out just as nice.

* Raw leather cording... I used very fine leather cord for this & bought two packs but didn't use it all.
* Pearls
* Bead reamer for plastic pearls or a pearl reamer for real pearls.
* Scissors
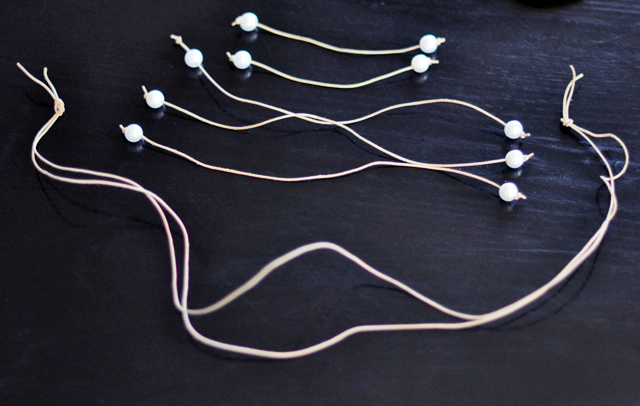
* Cut two strips of leather cord between 20"-30" depending on the length you want and tie a knot about an inch from each end. I didn't get fancy with a closure, I figured I'd just tie it around my neck. Cut three 9" strips and two 6" strips. Using your bead reamer to make the hole in your pearls larger if necessary, slide one on each end of your 5 strands and knot the ends.
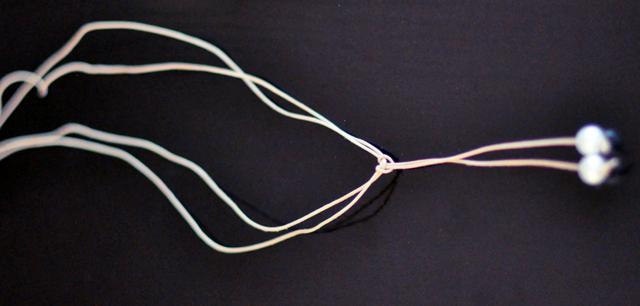
* Find the center of your necklace and using one of your longer strands of pearls, create a half slipknot around your base necklace and pull it tight. {*there may be a proper term for this knot but I don't know it}
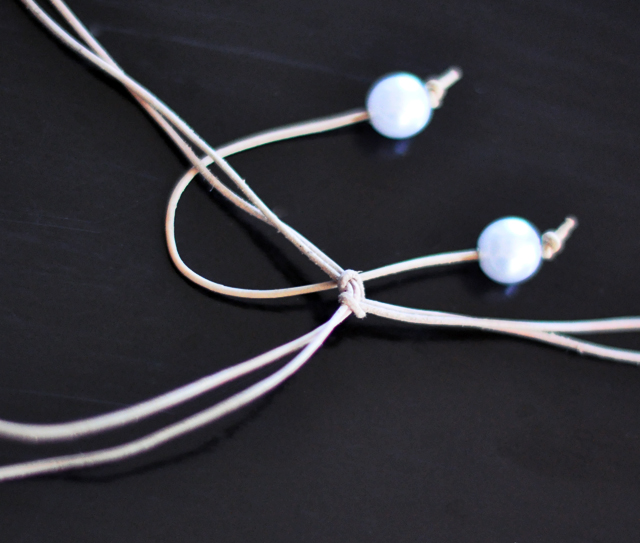

* Make a loop... slide under your base necklace... pull ends through and tighten. Knot your small strands on either side of your center long strand.
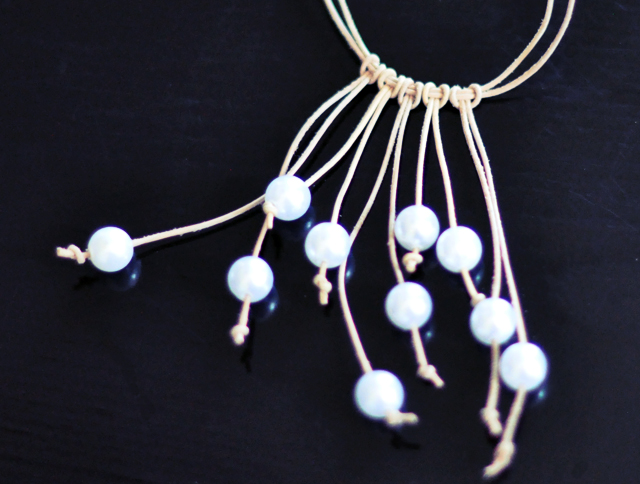
* Continue knotting your two longer strands on either end of the shorties.
I stopped at five but it would be pretty to go further up the sides as well in descending size.
I made earrings as well by knotting two shorter strands on a pair of medium gold hoops.
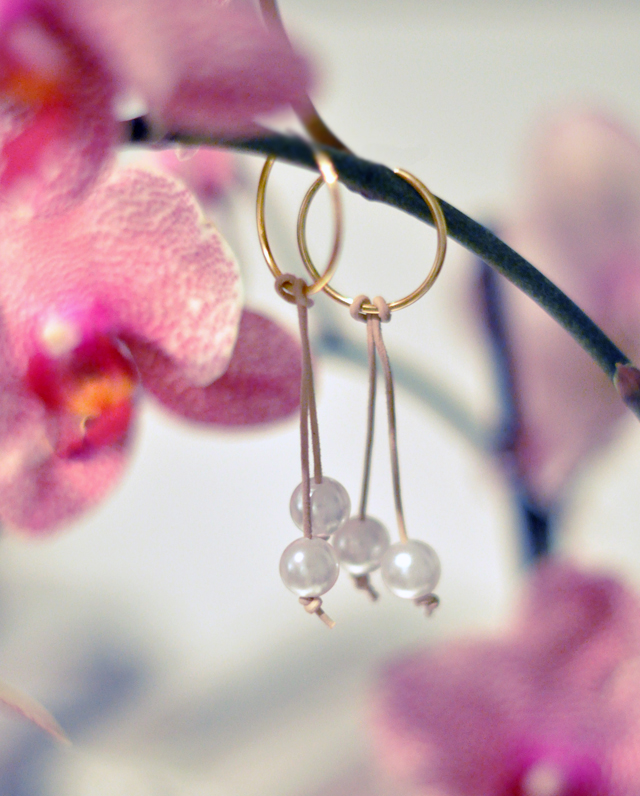
Have Fun!
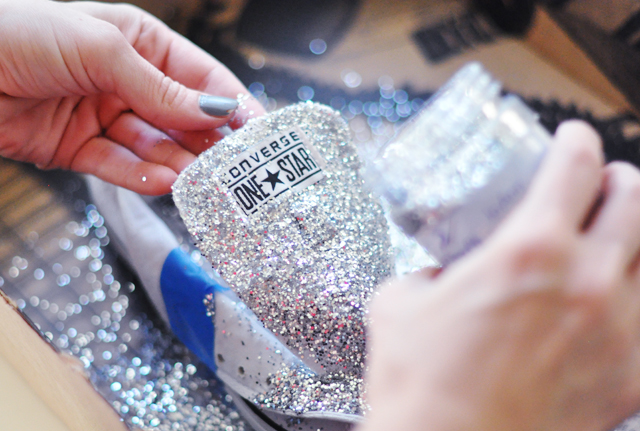
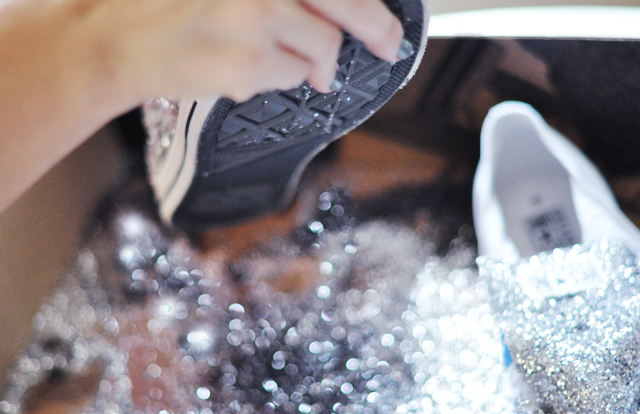
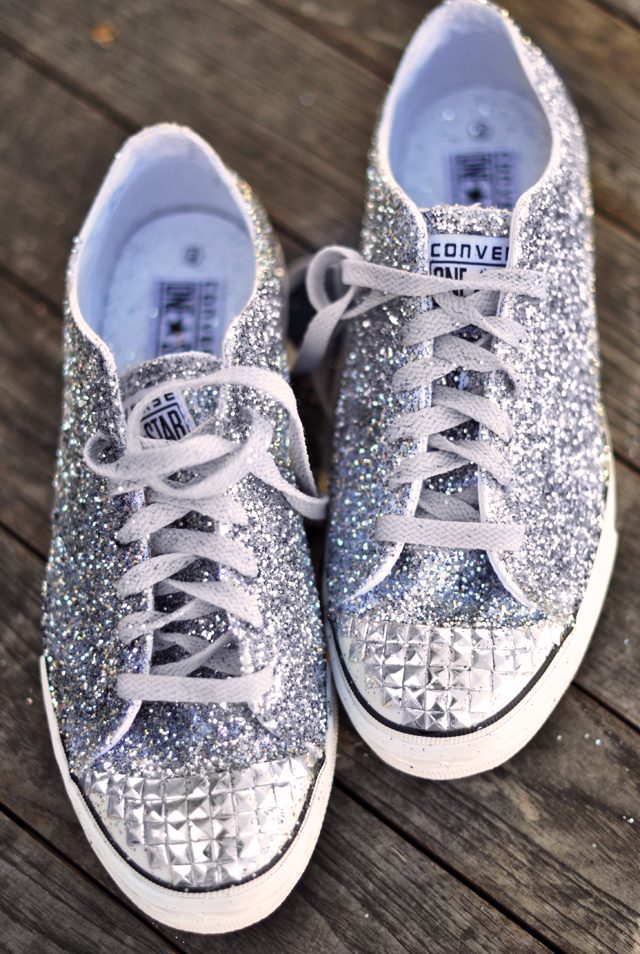
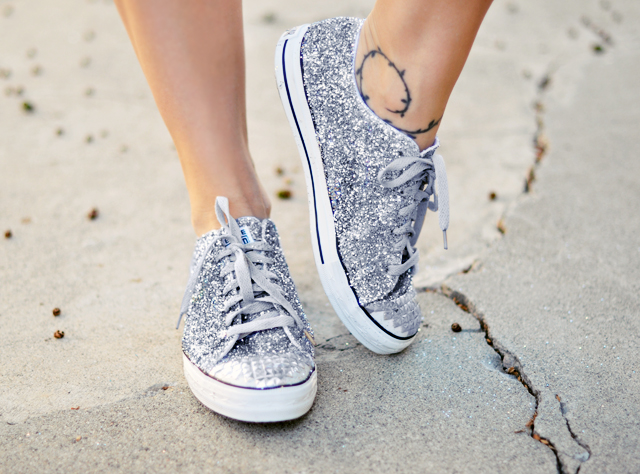
Glitter Sneaker DIY : Converse One Star for Target
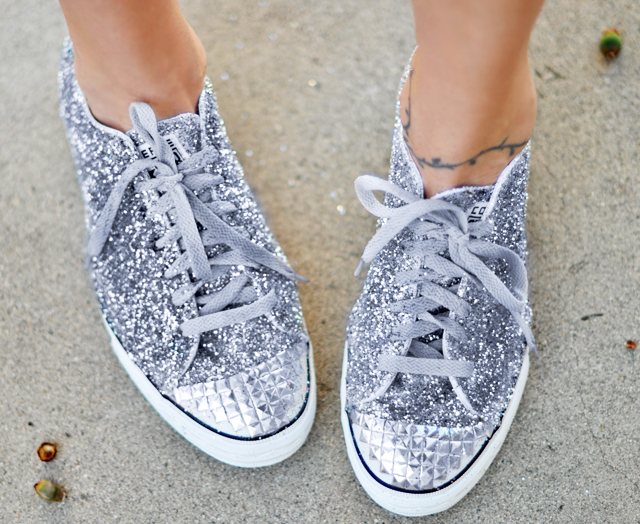
When Target approached me about a Converse One Star DIY challenge I couldn't resist, but it wasn't until I saw these Miu Miu glitter sneakers that I had any clue how I was going to give my white sneaks a personality all their own. DIYers have been glueing glitter to their shoes for decades! The most challenging part of this DIY was figuring out what material I was going to use to create the steel toe. I was thrilled to find the little pyramid studs in my own craft closet to complete the look. And though I leave a little trail of fairy dust behind me wherever I go, I have to admit, I love the way they turned out.
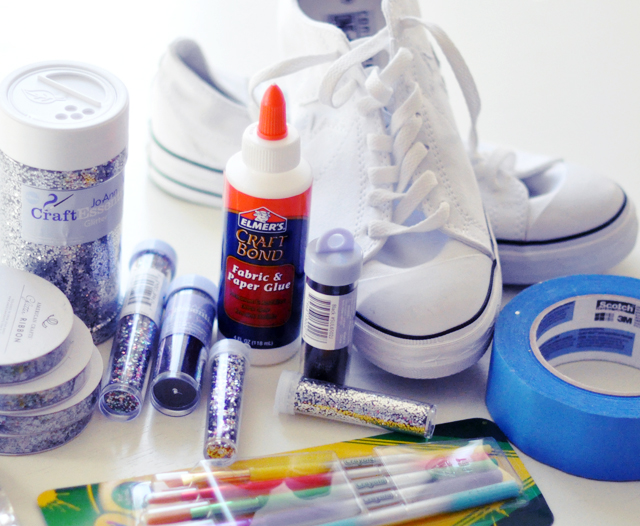
* Converse One Stars from Target $34.99 - courtesy of Target
* Fabric glue
* I used Crayola paint brushes to apply the glue.
* Silver glitter {I bought an 8oz jar but only used 1/4" of it. 4oz is plenty.
* Fine glitter in black
* Painter's tape
* Iron-on silver pyramid studs {which I can't seem to find online}
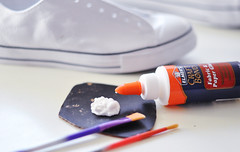
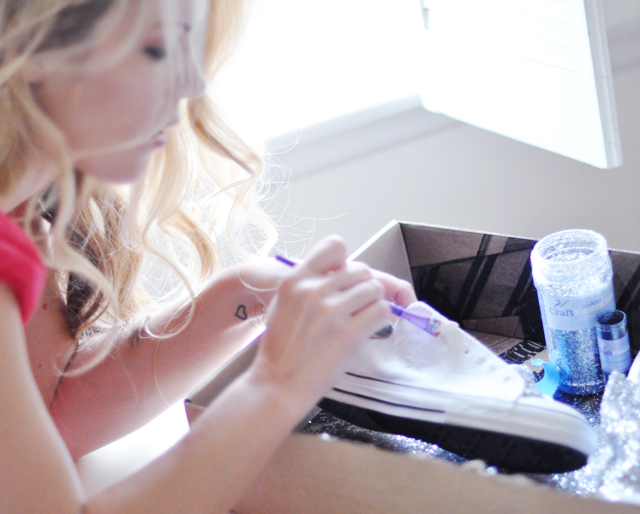
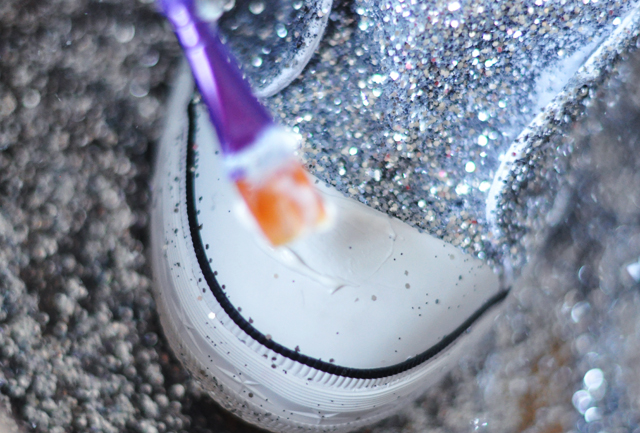
* Squeeze a large amount of fabric glue into a cup or plate. Tape down the sides of your sneakers with your painter's tape. Using a paintbrush, apply a moderately thick layer of glue to the tongue of your shoe.
* Place your sneaker in an open box and sprinkle a generous amount of glitter over your glue.
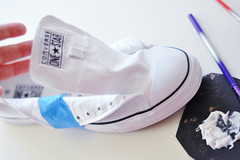
* Once your tongue is almost dry, remove the tape from the sides of your shoe and apply a generous layer of glue to your sides. It's best to do one at a time because the glue dries pretty fast.
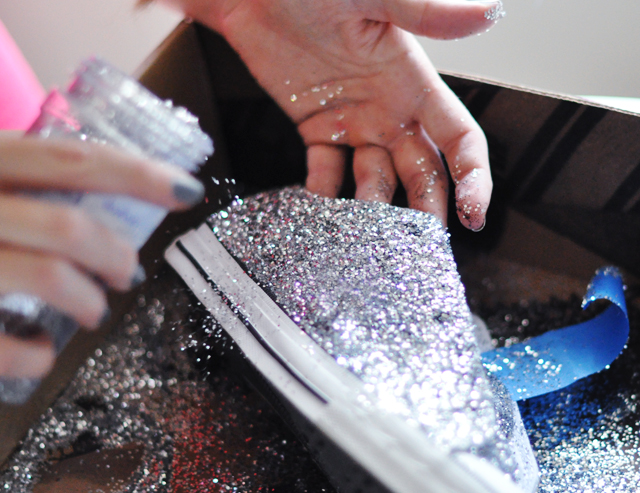
* Sprinkle your larger silver glitter and shake to remove excess.
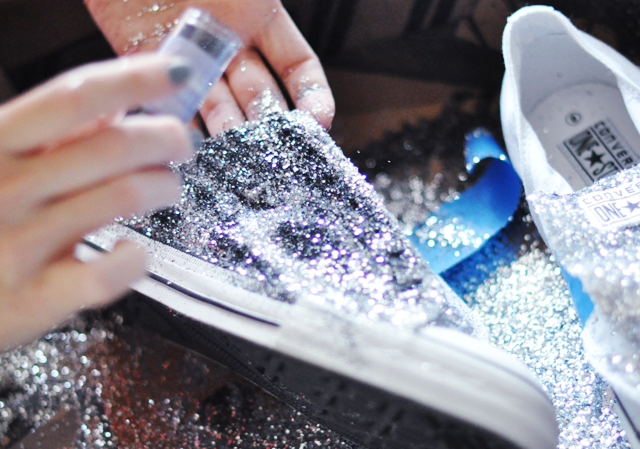
* Since I was trying to mimic the charcoal silver Miu Miu shoes, and couldn't find dark silver glitter, I added fine black glitter on top of my large silver glitter to fill in some of the tiny areas to make it appear darker. {this was my preference. If you can find a darker silver glitter, this step is unnecessary}
* Shake your shoe and allow the black fine glitter to settle and discard any unwanted silver glitter. If you missed any spots, now is your chance to add a little more glue and fill them in.
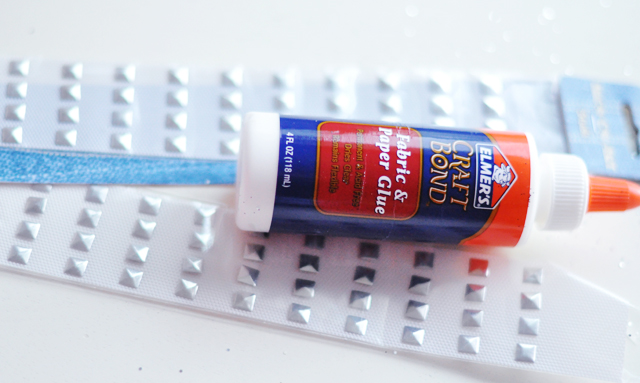
* To create a faux steel toe, I used small iron-on pyramid studs which I found at JoAnn's a few years ago.
* Paint a generous amount of glue on the rubber toe of your sneaker. You'll have to work quickly because it dries fast!

* Begin adding your studs at the center where the rubber meets the glitter and work out from there to either of the edges. Then create a sort of T by placing studs in a row down to the tip toe of your shoe and work out from there.
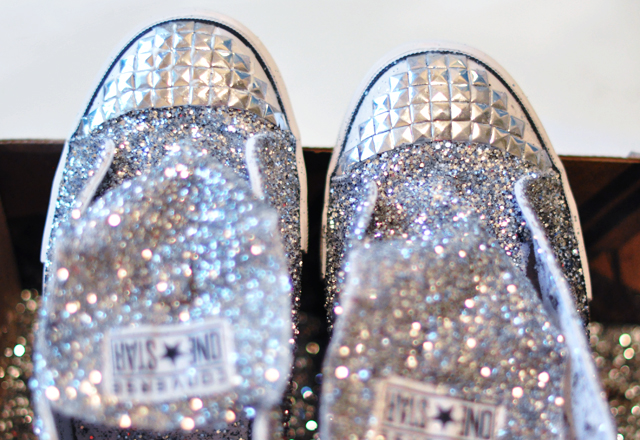
*I didn't want to go over the black line around the sole so I created a bit of a pyramid effect with staggered edges.

* A pyramid with pyramid studs ;)
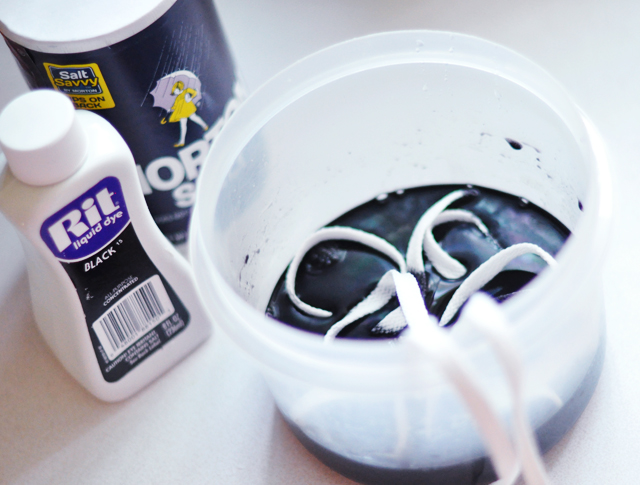
* Hoping to get a dark gray, I dyed my shoelaces black with Rit Dye. However, the dye barely took at all and left the laces a very light gray. I almost wish I just left them white. My advice if you want a darker shoe lace is to just buy them or use a satin ribbon instead.
Have Fun!
DIY Crystal Ball Drop Earrings
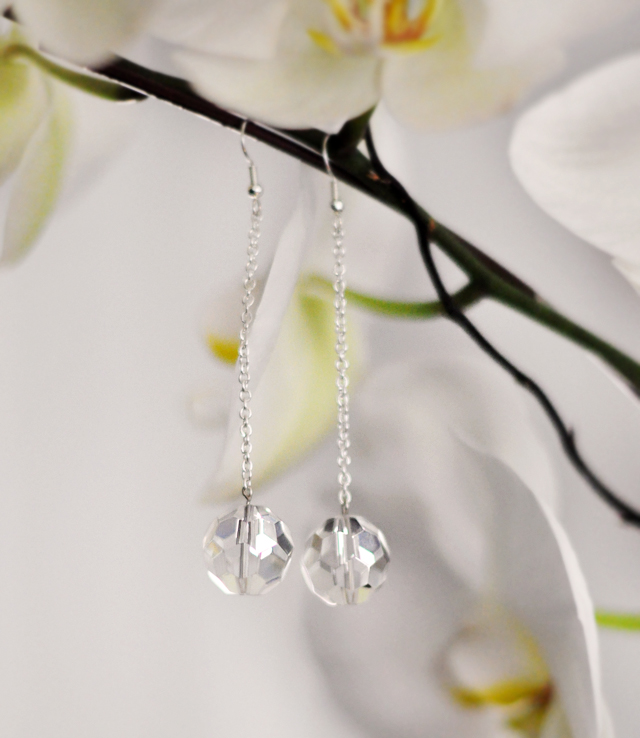
I love a single ball drop earring. The design is so 60's and you know I adore all things 60's. I came across these perfect little faceted ball beads the other day at JoAnn's and thought they'd be perfect modern version with the chain for a little edge. I also like the idea of acluster of pearls or a rhinestone ball but the clear crystal is pretty versatile. They're so quick and easy to make I'm bound to do more styles!
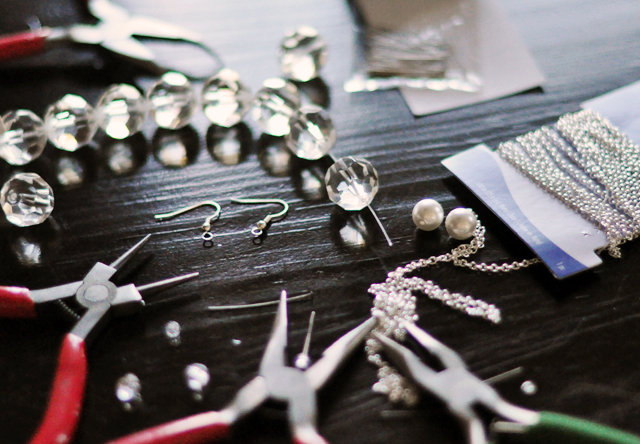
* Faceted crystal ball bead... or any round bead of your choice
* Small chain
* Earring hooks
* Jewelry Metal head pins {if you'd like to add more than one bead, buy the longest pins & trim away the excess}
* Jewelry making pliers
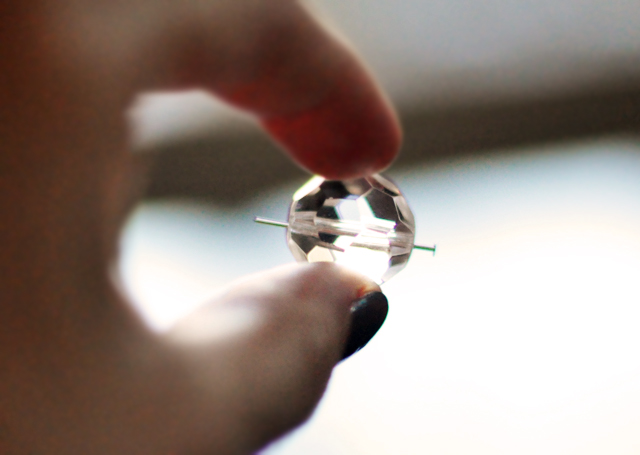
* Slide your metal jump head pin through your bead. If your bead's opening is too large you can use a smaller bead or even a single sequin to fill the gap.
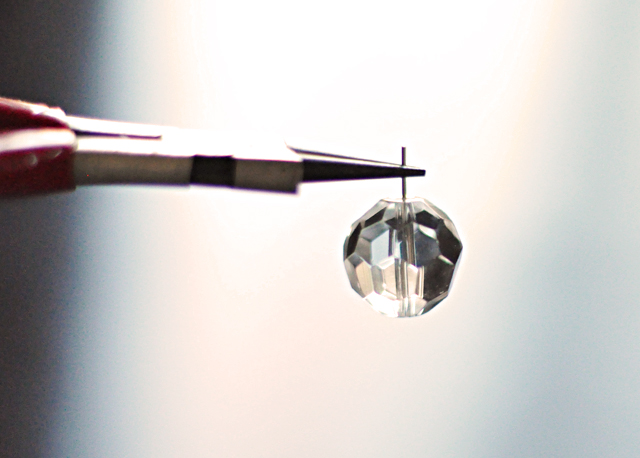
* With your rounded pliers, bend the metal pin to form an open loop.
* It should look like this.
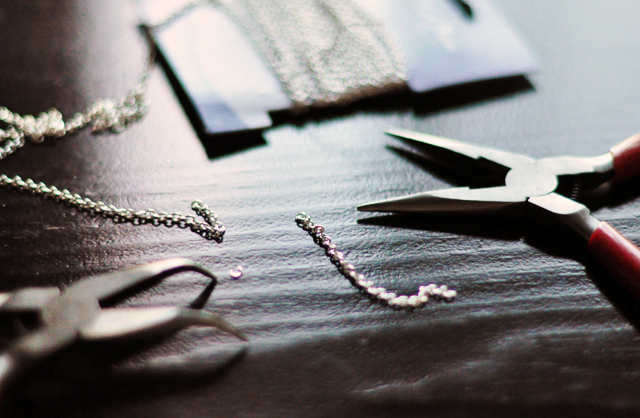
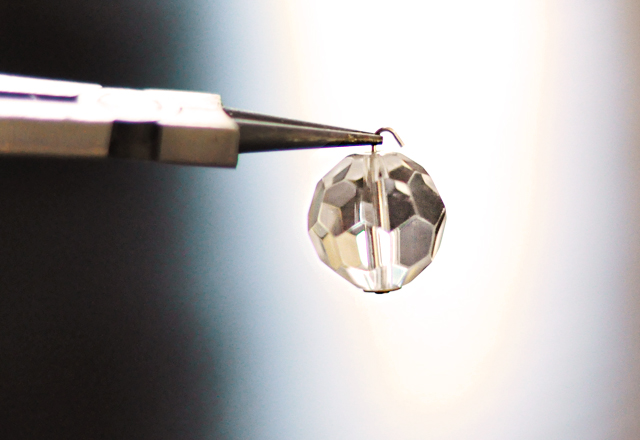
* Determine how long your want your drop. Using your pliers separate the chain links.

* Slide your chain through your pin/loop atop your bead and clamp the loop shut.

* Use the same technique on the opposite end to attach your earring hooks.

* So Simple! * So Quick! * So Fab!

Комментариев нет:
Отправить комментарий