DIY Tutorial 5: Glitter-Federn-Halskette
Für diese DIY Tutorial brauchst du:
DIY Tutorial – die Step-by-Step – Anleitung:
DIY Tutorial – das Endergebnis:
DIY: Houndstooth Cape + Jo-Ann Fabrics Giveaway
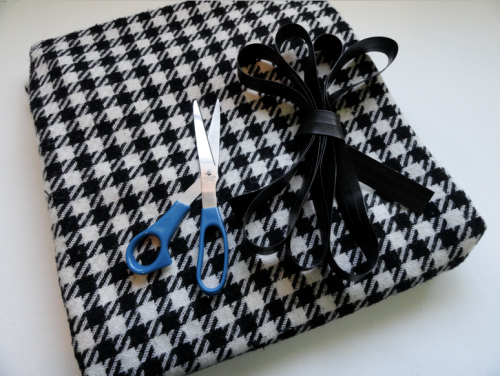
 One of my favorite DIYs from the summer was the Diana Ross inspired sequin beach cover up. With a quick fabric change the beach cover up is transformed into a fabulous Fall cape! It also makes a great gift for that fashion forward lady on your list…
 Fold your fabric in half. Then cut a “V” shape at the fold for your head to fit through. On the same front panel cut 2 slits in the middle of the fabric about a foot apart from each other. These slits will become the belt loops. Leave the back panel completely whole.
 Loop the leather trim through the two belt slits in the front panel. Wrap the trim around your waist and back through the loops. 2 yards of trim should be enough to wrap the belt around you twice. Leave the back panel complete free. It’s officially become your superwoman cape!
 It’s amazing what a yard of fabric can become! Even though I live in Los Angeles and it doesn’t get as cold in SoCal as it does in other parts of the country, I’m always excited about the season change. A change in weather means a change in wardrobe! I’m curious…
Question: What’s your favorite Fall fashion trend?
Capes? Faux fur? Metallics? Personally, I’m a fan of colored opaque tights and wear them all season long. Leave your answer below. Contest ends tonight at 9pm pst and with the help of a fancy number generating system, a number will be selected. If your answer falls in the comment box that corresponds with the selected number…you win a $25 gift card to Jo Anns Fabrics! Don’t worry if you don’t win today because we’re playing this game all week! Each day is a new DIY project, a new prize and a new chance to win.
DIY: Tribal Painted Journal + Plaid Crafts Paint Giveaway
 I love to spend my weekend mornings sipping coffee (in my mug I picked up this Summer while visiting the Eiffle Tower gift shop), flipping through fashion magazines looking for inspiration and writing in my journal. It’s the best way to relax and collect my thoughts. At the beginning of every year I always pick up a new blank journal and then spend the next 365 days filling with list, ideas and aspirations. Journals make for great gifts!
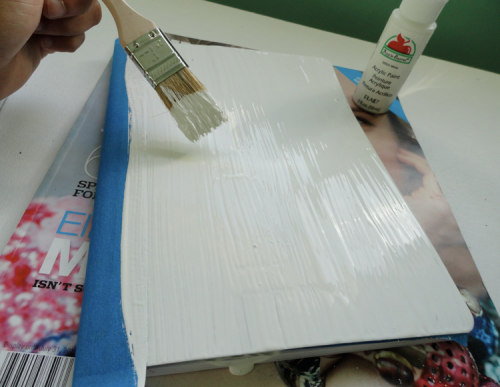 Give yourself a blank canvas by adding a thin layer of bright white paint to the front cover. Use painters tape to protect the black binding so you don’t get paint on it.
 Get creative! Tribal patterns are all about shapes and lines. Designing your own pattern is tons of fun.
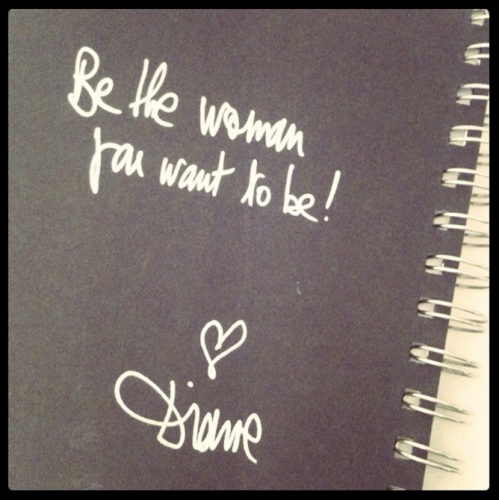
 Give the gift of inspiration this year! A few years ago I was lucky enough to have been invited to a brunch at the Los Angeles home of Diane Von Furstenberg. At the brunch we got to tour parts of her home, socialize and of course look at her latest collection. As parting gift we were all give bags full of DVF goodies. In my bag was a spiral bound journal with a quote from Diane inscribes on the inside cover, “Be the woman you want to be! <3 Diane”. I cherished this journal and it became my inspiration journal for the year. In it I wrote a years worth of hopes, dreams and ideas. Every time I open the journal and look at that quote, I’m inspired. I have a long list of hardworking and determined women, like Ms. DVF, who inspire my and I would love to know…
Question: Who is on your list of people that inspire you?
Is it your Mom or Grandma? Maybe it’s a grade school teacher? Or maybe it’s Barbra… Streisand or Walters? Leave your answer below. Contest ends tonight at 9pm pst and with the help of a fancy number generating system, a number will be selected. If your answer falls in the comment box that corresponds with the selected number…you win a new collection of my favorite color paints from Plaid Crafts from my personal collection! Color has truly inspired me this year and I’d love to share with the winner. Don’t worry if you don’t win today because we’re playing this game all week! Each day is a new DIY project, a new prize and a new chance to win.
xoxo, Kristen
UPDATE: 12 was the randomly selected number!
DIY: Placemat iPad Cover + Bed, Bath and Beyond Giveaway
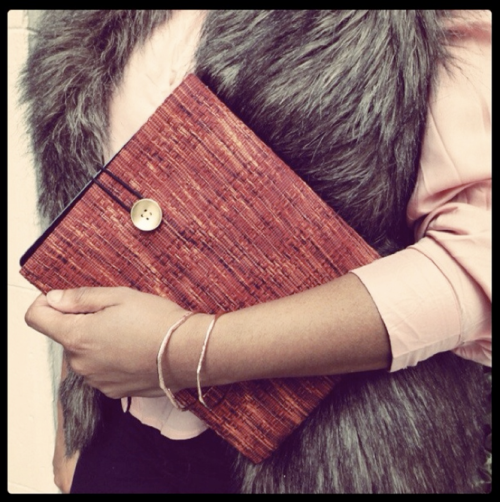
 Electronics are a hot gif item during the Holidays. This season many have added the iPad to their wish list. Well here’s an idea, why don’t you make the perfect iPad case for the treasured jewel of technology? It’s inexpensive, unique and easy…
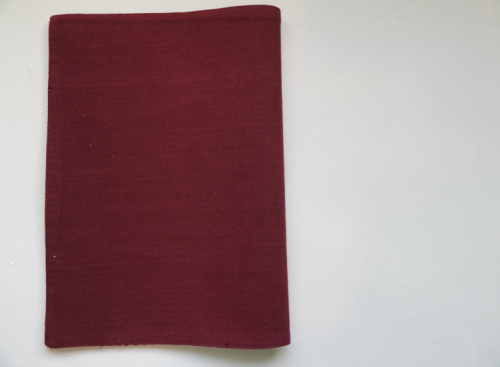
 Lay your placemat flat with your pattern facing you. Something about this placemat reminded me of Missoni.
 An iPad measures 7.5 inches wide by 9.5 inches tall. Use a marker to draw an outline around the iPad.
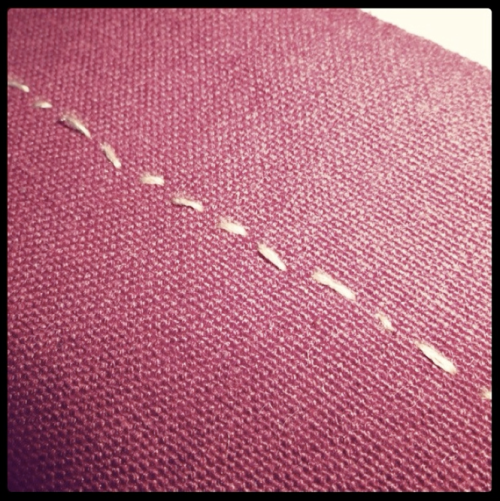 Use the marker as your guide and hand stitch the mat together leaving an opening at the top. Also, be sure to leave at least a half inch seam allowance on each side. Any additional fabric can be removed with scissors.
 Now that you have stitched you pouch, flip the mat inside out so that the pattern is now showing right side out.
 I love my iPad! I almost never leave home without it. Even though I initially purchased it for my Dad, for some reason it ended up in my purse and never made it to his house. Strange how that happened. People are always so excited when Apple releases new products. People camp out and stand in line for hours so they can be among the first to have the latest and the greatest. That got me thinking….
Question: Have you ever camped out or waited hours in line to purchase anything?
Yep I’m looking at all you guys who camped out for Black Friday! Did you occupy the mall to score the Versace for H&M collection? I wanna hear the stories. Leave your answer below. Contest ends tonight at 9pm pst and with the help of a fancy number generating system, a number will be selected. If your answer falls in the comment box that corresponds with the selected number…you win a $25 gift card to Bed, Bath and Beyond! Do you know how many placemat iPad covers you can buy for $25? Don’t worry if you don’t win today because we’re playing this game all week! Each day is a new DIY project, a new prize and a new chance to win.
UPDATE: 17 was the randomly selected number
Congrats Benita! You won the $25 Bed, Bath & Beyond gift card.
DIY: Hardware Stretchy Bracelet + Home Depot Giveaway
 This year has been the year of the arm! From Man Repeller’s Arm Parties to the rebirth of the friendship bracelet, wrists seem to be getting all the attention these days. It’s not about chunky bangles but it’s all about the tiny bracelet…. lots and lots of tiny bracelets. There’s nothing like a wristful of bracelets. I’m sure over the past year we’ve all perfected the art of layering our favorite collection of colorful bracelets. This season, why don’t you give the give of a hardware embellished bracelet? Add one more to her collection…
 Who says materials from the hardware store have to be used for just home improvement projects? Not me! The guys in the plumbing department at my local hardware store no longer ask me what I’m working on when they see me wondering the isles. It’s a known fact that whatever I’m doing with the materials, one thing I will NOT be doing is fixing a toilet!
Here’s your chance to stock up on nuts, bolts, pipes and other DIY hardware materials by winning a $25 gift card to Home Depot.
Question: What do you do to set the mood while you’re crafting?
Do you craft with the tv on? While watching Real Housewives of Beverly Hills? Maybe you like to listen to music and sip a glass of wine? Or maybe you like it absolutely quiet while you get your DIY on! Remember there is no right answer. Personally, I like to listen to Beyonce when I’m getting crafty. (…and sometimes while I wait for glue to dry I turn up Single Ladies and do the dance in front of my mirror… shhhh please don’t tell anyone) Leave your answer below. Contest ends tonight at 9pm pst and with the help of a fancy number generating system, a number will be selected. If your answer falls in the comment box that corresponds with the selected number…you’re the winner! Don’t worry if you don’t win today because we’re playing this game all week! Each day is a new DIY project, a new prize and a new chance to win.
UPDATE: 36 was the randomly selected number
Congrats Sheila! You won the $25 Home Depot Gift Card.
DIY: Peppermint Statemet Necklace + Target Giveaway
 Candy canes remind me of Christmas as a child. My Grandparents would decorate their Christmas trees with them and my mom would tape them to the envelopes of her greeting cards (as if to say sorry you’re not getting a box from me but here’s a lovely greeting card AND a candy cane). When I see those red and white sugar sticks I think of all the wonderful things associated with the Holidays like cold weather, warm fires, family and friends. That’s why I yell out a big “OH NO HE DIDN’T!” when the Grinch steals that candy cane right out of the sleeping Whos hands. Don’t take the candy cane!
This DIY project was inspired by the official, unofficial candy of the Christmas season…the candy cane.
*It’s important to that your candy is not crystallized because it will break. Not sure the what the different is? Just think… the crystallized peppermints are the ones you pick up at the hostess stand on your way out of a restaurant. Stay away from those. You want the soft peppermints like the ones your Grandma keeps in that glass dish in the living room by the phone. I used the Bob’s Sweet Stripesbrand that I purchased from Target.
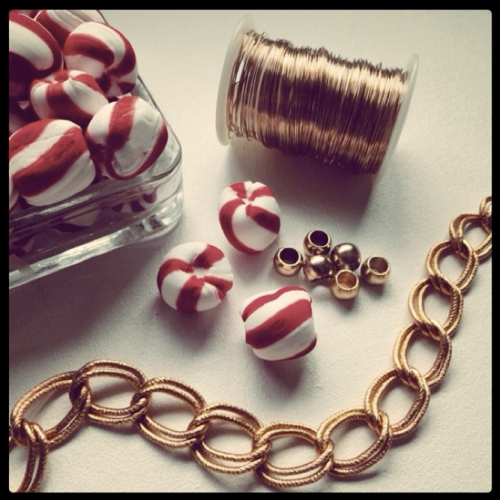
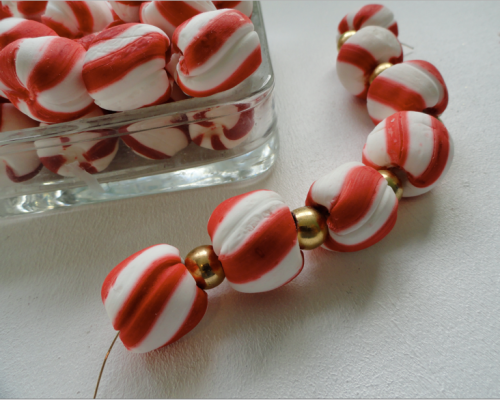 String your peppermint candy through the wire. If you’re having a hard time stringing the candy, use a big needle to help work the wire through. Or if you have access to a drill with a small bit, drill a hole directly through the candy.
 The pattern, style and number of candy pieces you use is totally up to you. Use your imagination and be creative!
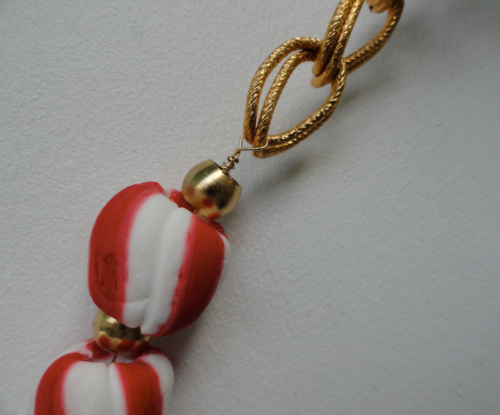 To secure your wire to the chain simply slide the wire through the last link, loop it over and wrap it around. Cut off any additional wire.
 Dress by Giambattista Valli for Macy’s
 Ribbon could also be another alternative to the chain. Also, keep an eye out for the peppermint candy in different colors. You can find them in green, blue, yellow and multi-colored.
This necklace makes for a fun and festive gift as well as the perfect accessory for all those Holiday parties.
Wait there’s more… I’m in the gift giving mood and will be spreading the love with a series of giveaways! Today’s giveaway is courtesy of TARGET (<–said in my best Oprah voice)!!!!! Yes, today you have the chance to win a $50 gift card to one of my favorite places on earth and the one stop shop for all your Holiday needs. Here’s how it’s works (aka the rules): I’ll ask a question and you answer in the comment section below. It’s that simple.
Question: What’s your favorite kind of candy?
It doesn’t have to be seasonal candy and there is no right answer. Personally I’m addicted to the watermelon flavored Sour Patch Kids, but I want to hear what kind of candy satisfies your sweet tooth. Leave your answer below. Contest ends tonight at 9pm pst and with the help of a fancy number generating system, a number will be selected. If your answer falls in the comment box that corresponds with the selected number…you’re the winner! Don’t worry if you don’t win today because we’re playing this name for the next 12 days! Each day is a new DIY project, a new prize and a new chance to win.
Good Luck!
UPDATE: 33 was the randomly selected number
DIY Tutorial 4: Buchstabenkette aus Fimo
Für diese DIY-Tutorial brauchst du:
DIY-Tutorial – die Step-by-Step – Anleitung:
DIY-Tutorial – das Endergebnis:
Copyright: fashion.onblog.at und Michael Punzenberger (Bild und Text Veröffentlichung nur mit schriftlicher Zustimmung der Rechteinhaber. Jegliche illegale Veröffentlichung wird in Rechnung gestellt.)DIY Tutorial 3: Die „Spitzen-Clutch“
Für dieses DIY-Tutorial brauchst du:
DIY-Tutorial – die Step-by-Step Anleitung:
DIY-Tutorial – das Endergebnis:
Copyright: fashion.onblog.at und Michael Punzenberger (Bild und Text Veröffentlichung nur mit schriftlicher Zustimmung der Rechteinhaber. Jegliche illegale Veröffentlichung wird in Rechnung gestellt.)[InStyle DIY] Party Glitter Pumps
December is officially here which means that holiday party season is upon us! Although I am not a big fan of the cold (growing up in Wisconsin was killer) I do love getting dressed up and sipping on festive cocktails. I tend to stick to LBDs in the winter months, and jazz up the look with sparkle elsewhere. For my December column in InStyle I tried out the absolutely amazing Krylon Glitter Blast to bedazzle a pair of pumps. I was blown away by how easy it was to use. I wonder if I could cover a wall in my room with this...too much? Never.
Place Strips of masking tape over the body of the shoe so only the heel is left uncovered.
Hold the can of Gold Glitter Blast eight inches from the heel and spray. Let dry for 10 minutes, then repeat. Once the second layer of glitter is dry, spray sealant on the heel.
Allow to set overnight, then remove tape.


