I made these earrings, and I love their versatility.


Materials:
Leather (I used scraps but any will do. Have any old leather belts hanging around?)
2 Ear Wires (Pictured are Fish Hook thingys that work perfectly as ear wires, although I ended up saving them for another project and using the standard wires)
Jump Rings (the circular rings that hold the leather together)
Needle (for poking holes)
Really sharp scissors OR Exacto Knife for cutting leather.
Optional Pliers to close rings and wires. Using your fingers can get painful.


Directions:
1. Poke small holes in the leather and loop jump rings through. Make sure to close the ring. I used pliers (not pictured) to do this. You can make as many holes as you like. I only made two sets (4 holes total).
1. Poke small holes in the leather and loop jump rings through. Make sure to close the ring. I used pliers (not pictured) to do this. You can make as many holes as you like. I only made two sets (4 holes total).
2. Open circular end of ear wire and attach to top most jump wire. Close ring.
3. And you’re done!
Let me start by saying this takes some time IF you are a beginner like me.
Before you start looking at the pictures, although I’m sure you have already done so, it is best to visualize the process in your own words. I say this because there may be a better or easier way to do this.
Tools:
- Thrifted blouse with pizzazz (random noun…I know)
- Pins
- Chalk for tracing (Although I used a pencil. HAHA. Can you tell I’m a beginner)
- Scissors and/or a Seam Ripper
- Sewing Machine (Although very possible to do by hand)
This is a plain polyester blend blouse. It is non-stretchy, which means it took me a couple trys to make it the right size.


This is the back. As you can see, it has some great detail. Right up my style alley!

I found a shirt that fit me, placed it on top, and traced. Again, because the blouse is polyester, and I used a cotton tee for tracing, I had to add about an inch to the trace line. This was definitely trial and error. The first time I did this, my husband had to help me out of the shirt. Scary.

Next I cut out the sleeves, shoulder pads (will use later), and the shoulder seams. I folded and pinned the flaps of fabric so that it would be ready for sewing. (See next image)

After pinning the front flaps, I cut the shape of the back as so. Again, I pinned the flaps of fabric down in preparation for sewing. Is this clear?


-Please let me know if you’re stuck. I will be happy to help.
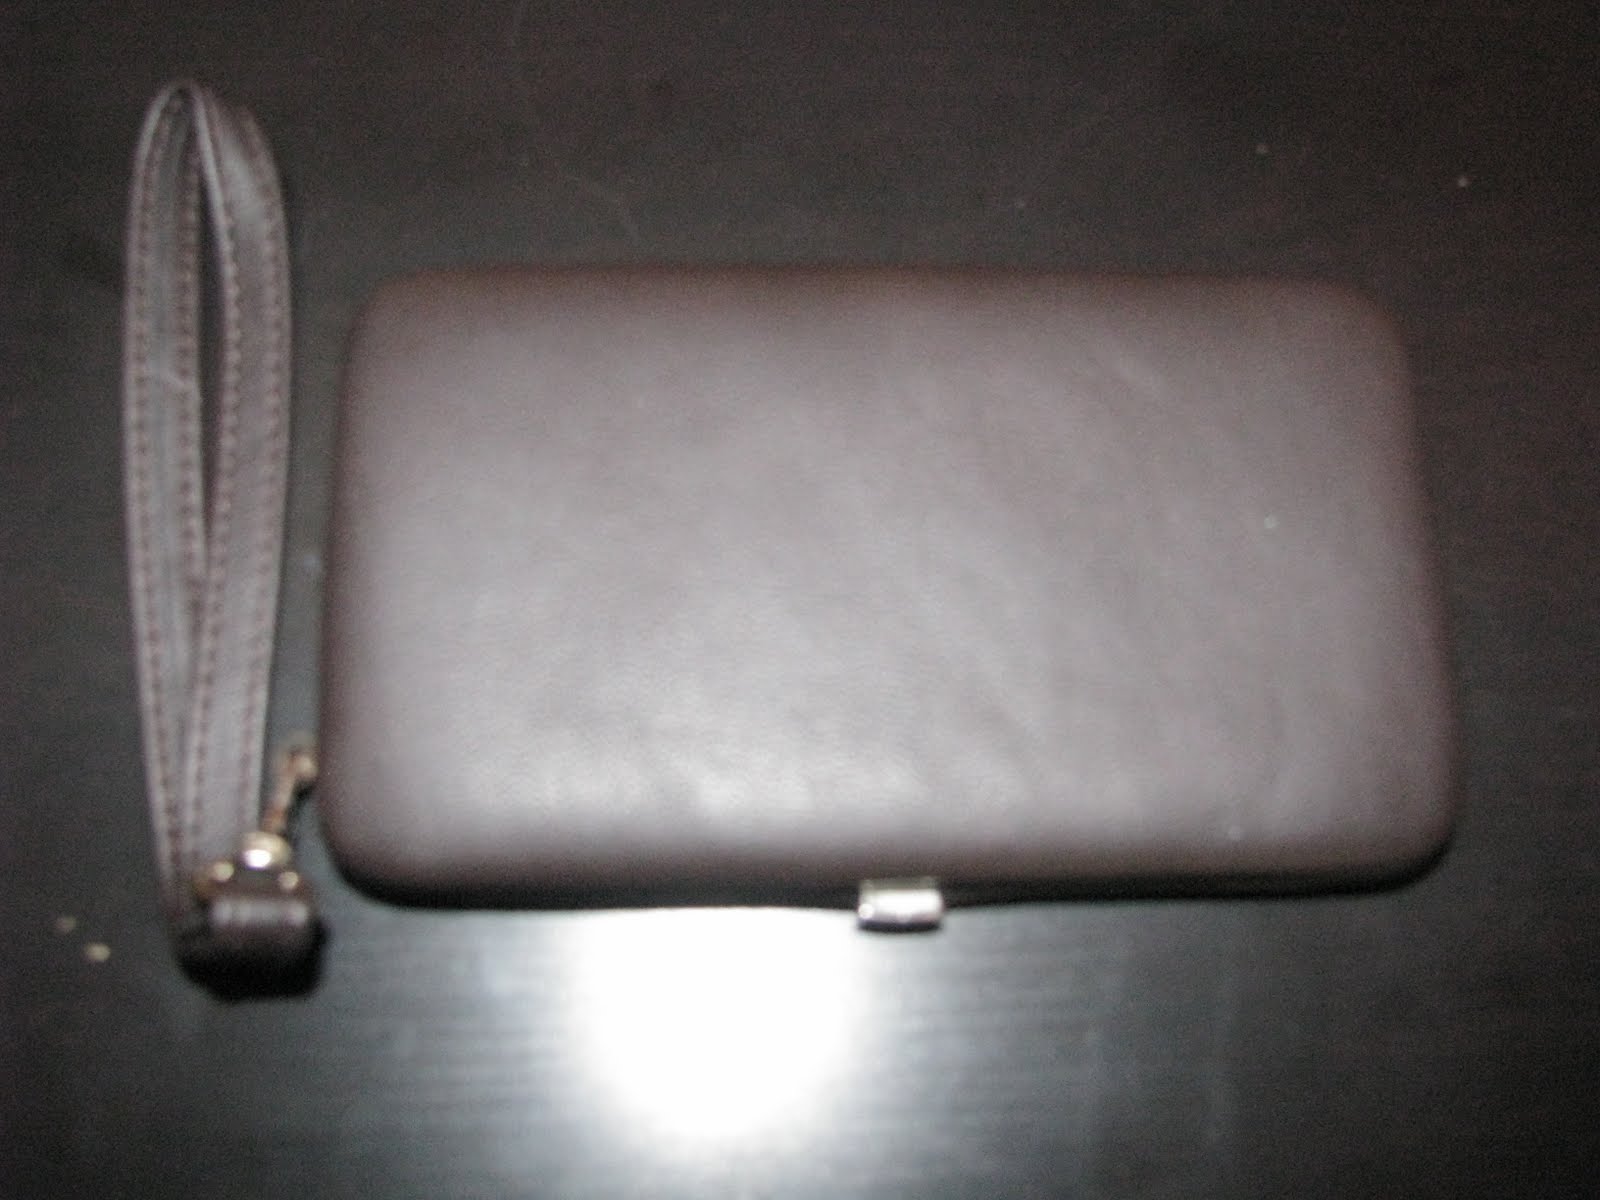
DIY: Tribal Print Mini Clutch

I was organizing my closet the other day when I came across an old clutch wallet. Initially I was considering putting it in the donate pile, when it dawned on me that I could try revamping it. Given the soft leathery texture, painting it seemed like the best way to go. Since I've been really into tribal prints, I couldn't help but use it as my inspiration.
What you'll need:

masking tape, some paint (to prevent myself from owning a crazy amount of paint, I've stuck to keeping the primary colors and just mix them to get the colors I need), paintbrush, paper plate for mixing, and water to rinse your colors
Directions:
1. Figure out the kind of print patter you would like to do.
2. Position masking tape onto the wallet. (I did this to keep my lines straight and
neat.)
Tip: Painting the area you want with white will act as a primer and allow your colors to pop more.

3. That's all there is to it! Now you have the perfect accessory for the summer.


What do you all think? Also, I wasn't quite sure about it but do you think I should paint the entire wallet or not?
diy: celine x kanye west blouse


if you’re like me, you’ve been eying that celine blouse for ages, then kanye had to go and don it to a little gig called coachella, and my dream of finding it for 80% off at nordstrom rack, became a joke.
Комментариев нет:
Отправить комментарий